Seamless Gutter Installation | How To
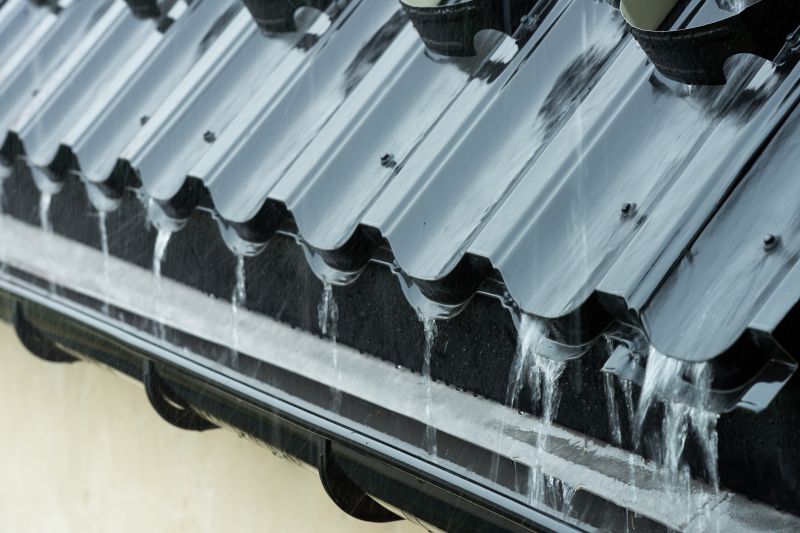
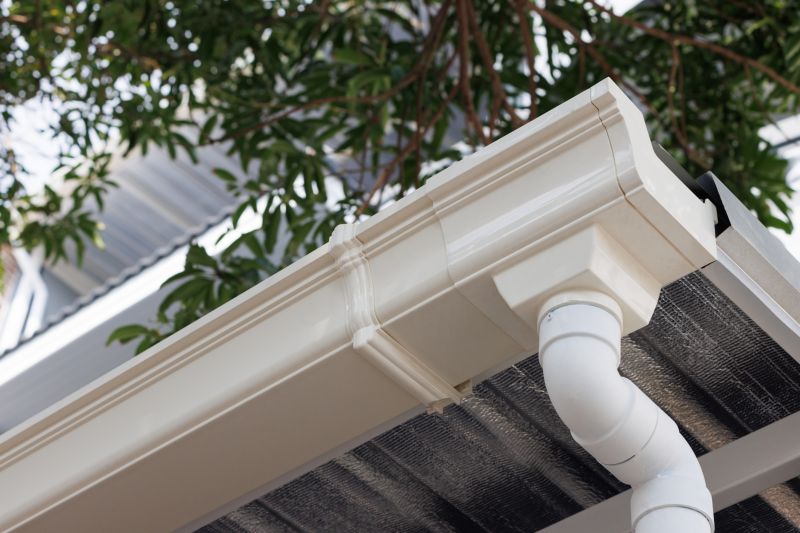
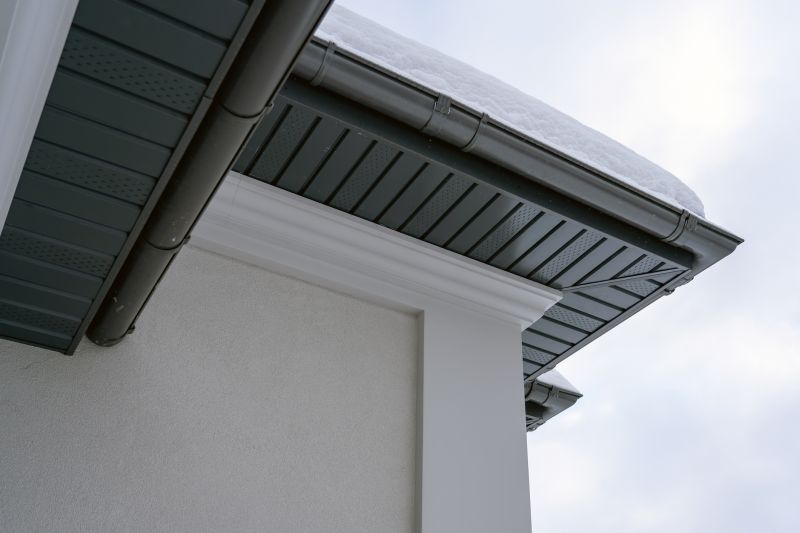
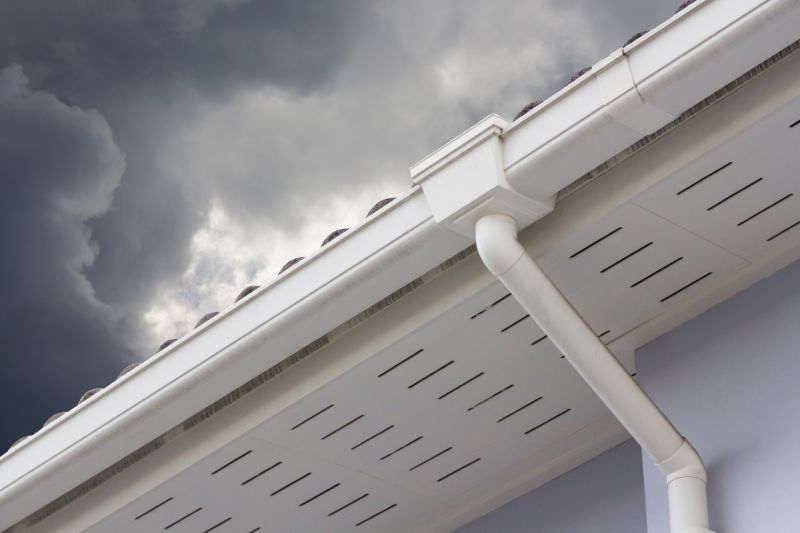
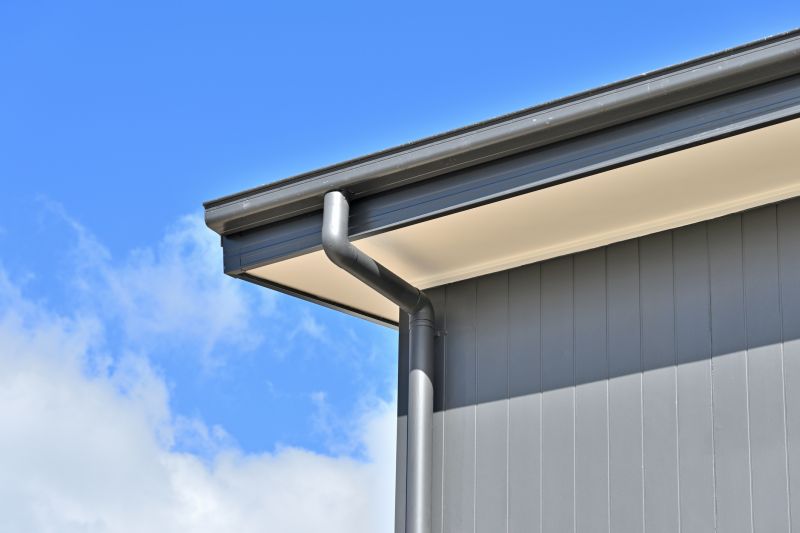
Get help with your seamless gutter installation needs. Fill out the form above and we will connect you with local pros in your area. When it comes to safeguarding your home from water damage, seamless gutter installation is a crucial step to consider. Seamless gutters are designed to fit perfectly along the roofline, without any seams or joints that can lead to leaks and clogs. This type of gutter system ensures a smooth and efficient flow of rainwater, effectively directing it away from your home's foundation. With professional seamless gutter installation, you can enhance the durability and functionality of your gutter system, preventing water-related issues such as basement flooding, erosion, and mold growth. Expert installation ensures that your gutters are custom-fit to your home's specifications, offering optimal protection against water damage.
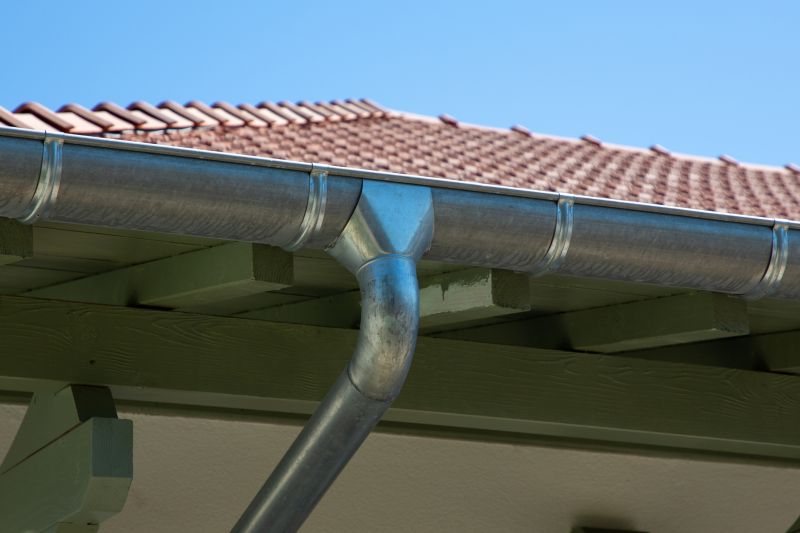
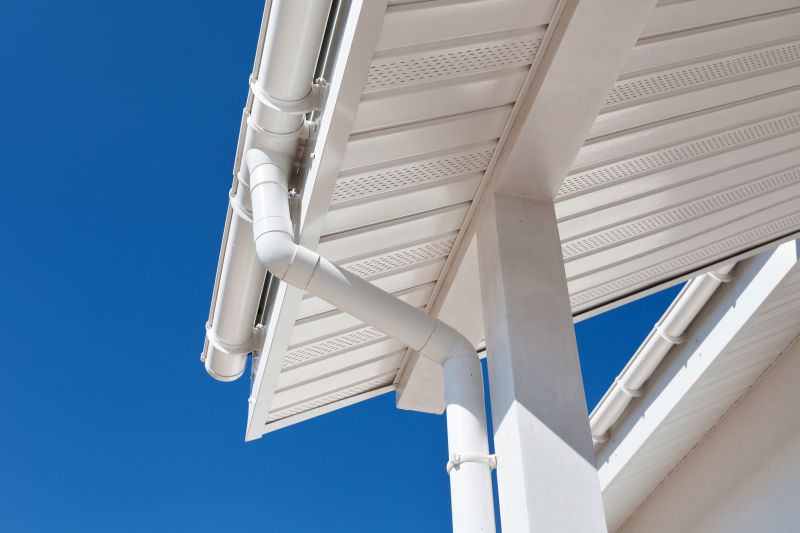
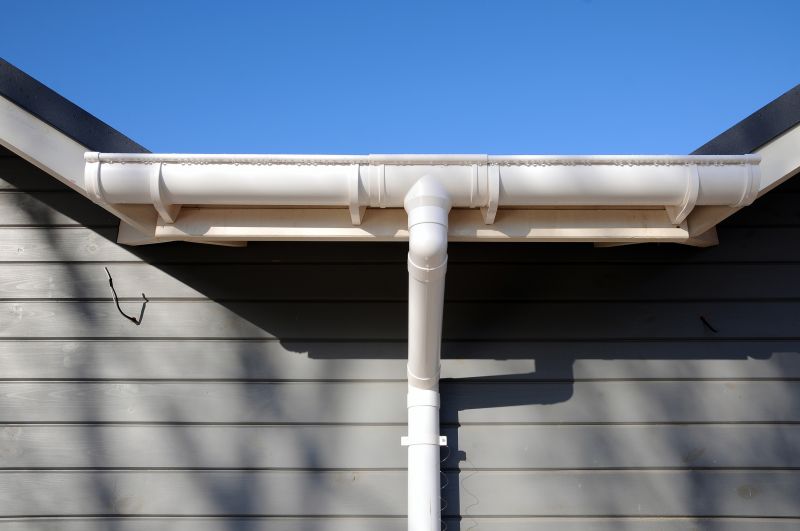
How to Install Seamless Gutters
Step 1: Measure and Plan
Start by measuring the length of the area where you want to install seamless gutters. Use a measuring tape to get accurate measurements. Take note of any corners, downspouts, or obstacles that may affect the gutter installation.
Step 2: Gather Materials
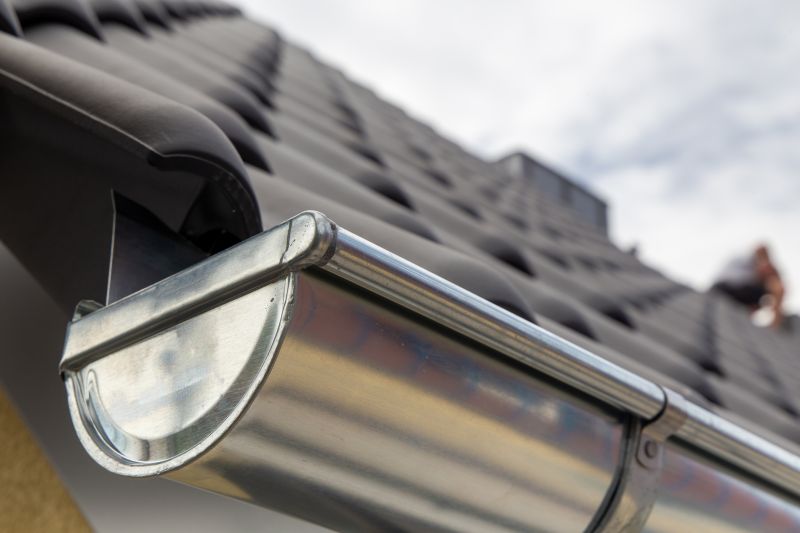
Before starting the installation, make sure you have all the necessary materials and tools. You will need seamless gutter sections, end caps, gutter hangers, downspouts, elbows, screws, and a drill. Additionally, have a ladder, gloves, safety glasses, and a helper if needed.
Step 3: Install Gutter Hangers
Begin by installing the gutter hangers along the fascia board. Space them according to the manufacturer's instructions, usually around 24-36 inches apart. Use a drill to secure the hangers in place.
Step 4: Cut and Install Gutter Sections
Measure the length needed for each gutter section and cut them accordingly. Use a hacksaw or tin snips to make clean cuts. Slide the gutter sections into the hangers, ensuring they are level and properly aligned. Secure them in place with screws.
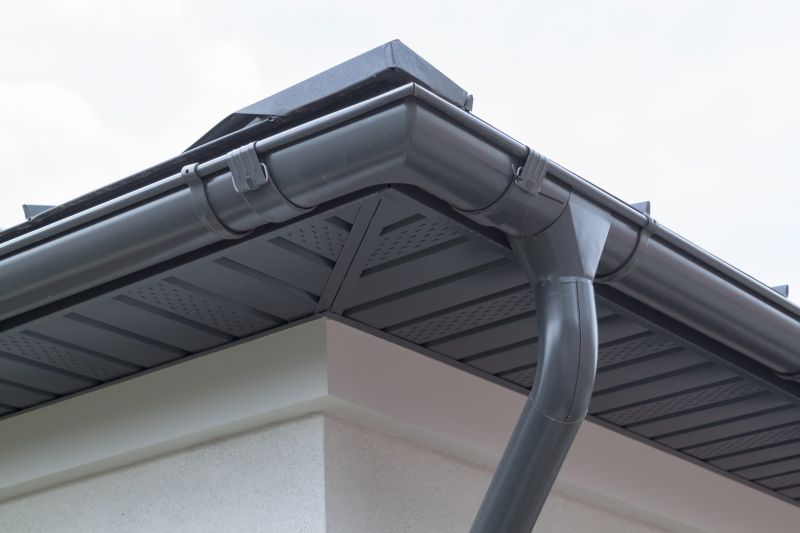
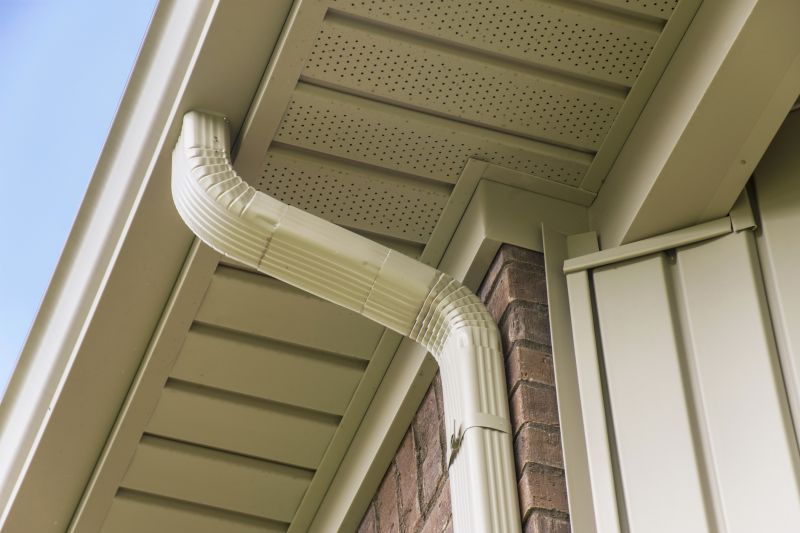
Step 5: Attach End Caps and Corners
Attach end caps to both ends of the gutter sections. For corners, use pre-formed corner pieces or cut and fold the gutter sections to create the desired angle. Secure them with screws or sealant to ensure a tight fit.
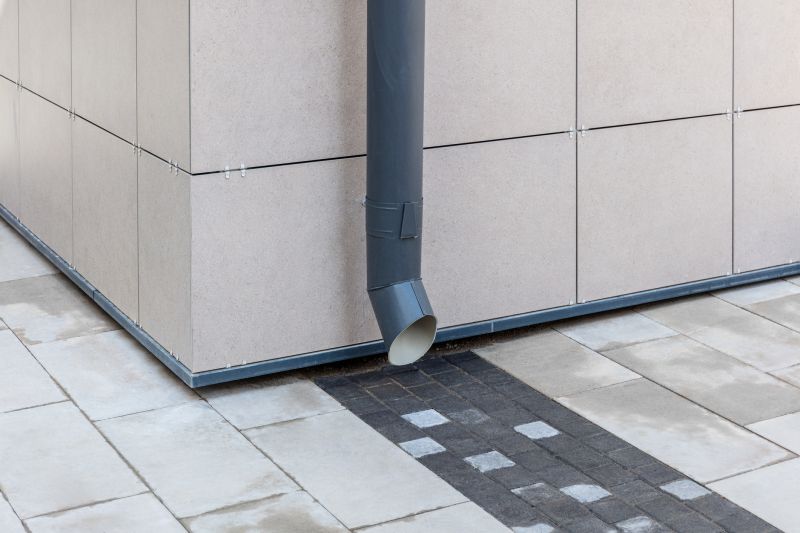
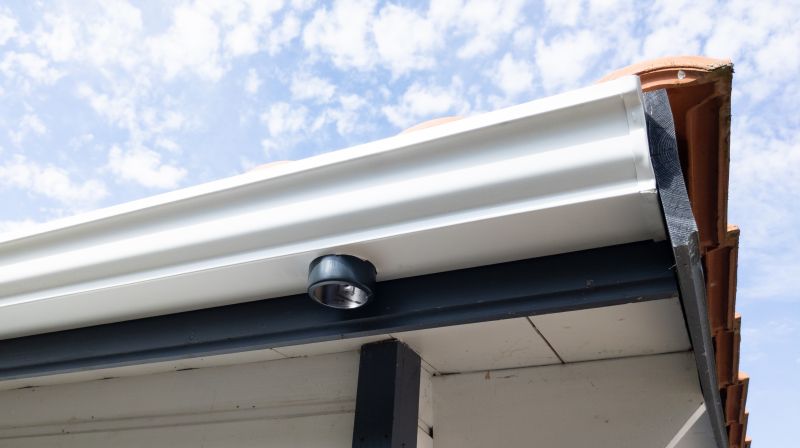
Step 6: Install Downspouts
Position the downspout outlet and mark the location on the gutter. Cut a hole using a hole saw or tin snips. Attach the downspout outlet and secure it with screws. Install the downspout sections, connecting them with elbows as needed.
Step 7: Test and Adjust
Once the gutters and downspouts are installed, test the system by pouring water into the gutters. Check for any leaks or improper drainage. Make any necessary adjustments or repairs to ensure the seamless gutter system is functioning properly.
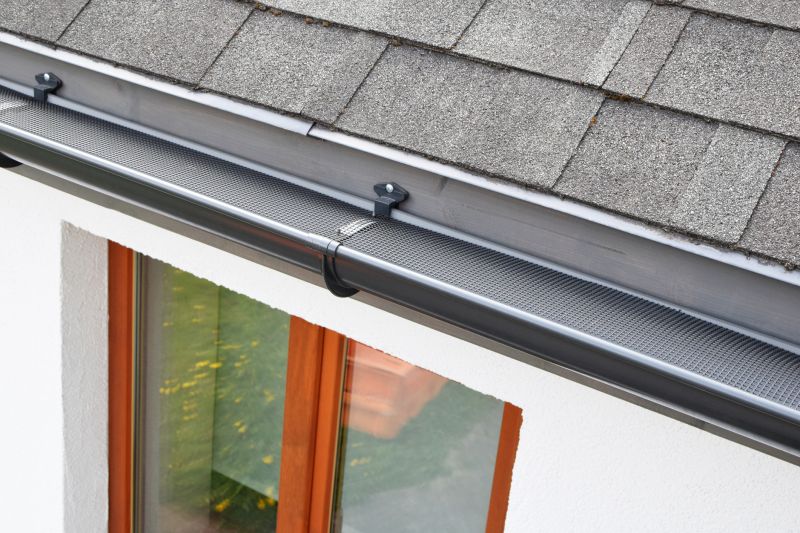
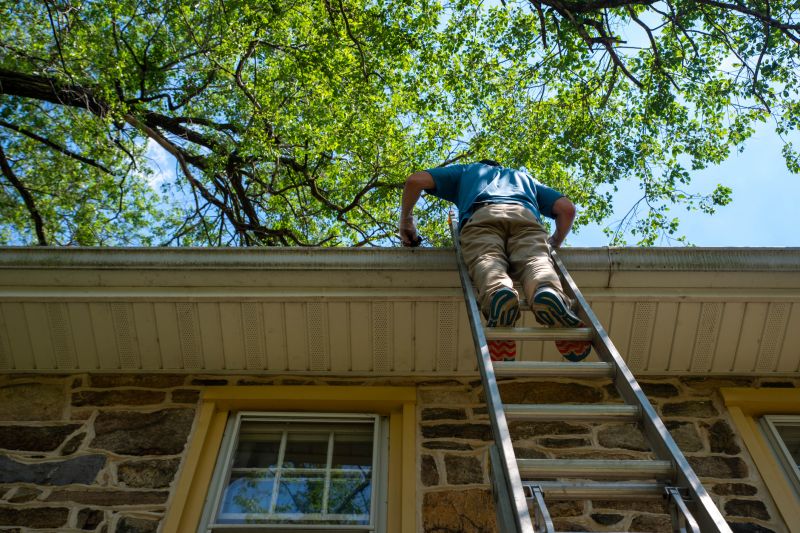
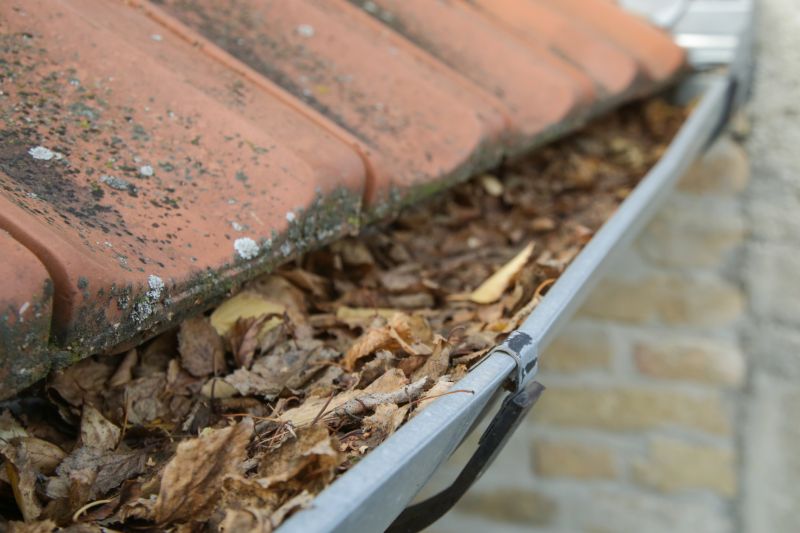
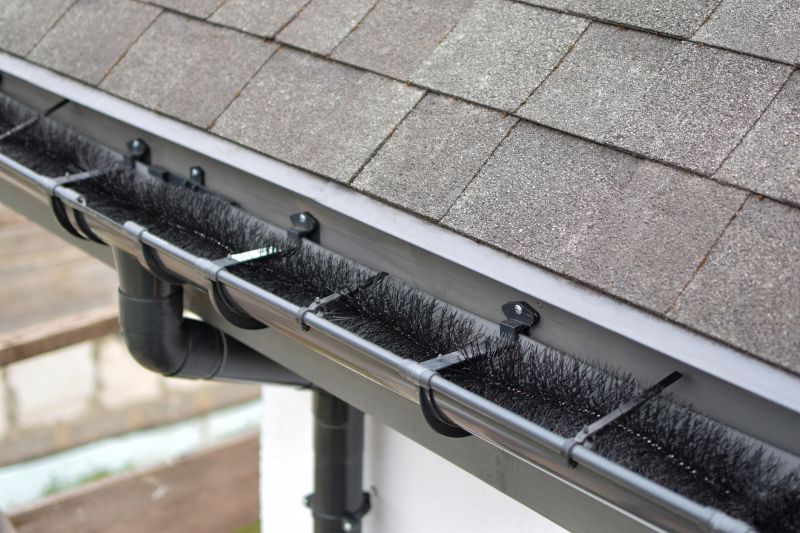
Step 8: Maintain and Clean
Regularly maintain and clean your seamless gutters to prevent clogs and ensure optimal performance. Remove leaves, debris, and check for any damage. Consider installing gutter guards to minimize maintenance.
By following these steps, you can successfully install seamless gutters and protect your home from water damage.