Downspout Installation | How To
Get help with your downspout installation needs. Fill out the form above and we will connect you with local pros in your area. Downspout installation involves the process of setting up a system that efficiently directs rainwater away from a building's foundation. This essential component of a well-functioning gutter system ensures that rainwater is effectively channeled away, preventing potential damage to the property. Proper downspout installation is crucial for maintaining the structural integrity of a building and preventing issues such as flooding, erosion, and water damage. By strategically positioning and securing downspouts, rainwater is directed away from the foundation, protecting the property's stability. With professional installation, property owners can ensure the effective management of rainwater, safeguarding their investment for years to come.
How to Install a Downspout
Installing a downspout is an important step in properly managing rainwater drainage from your roof. Follow these simple steps to install a downspout:
Materials Needed:
- Downspout
- Elbows
- Downspout brackets
- Screws
- Drill
- Hacksaw
- Tape measure
- Pencil
- Silicone sealant
Step 1: Measure and Mark
Begin by measuring the distance from the gutter to the ground where you want the downspout to be installed. Use a pencil to mark the measurement on the wall.
Step 2: Cut the Downspout
Using a hacksaw, cut the downspout to the desired length based on your measurement. Make sure to wear safety goggles and gloves while cutting.
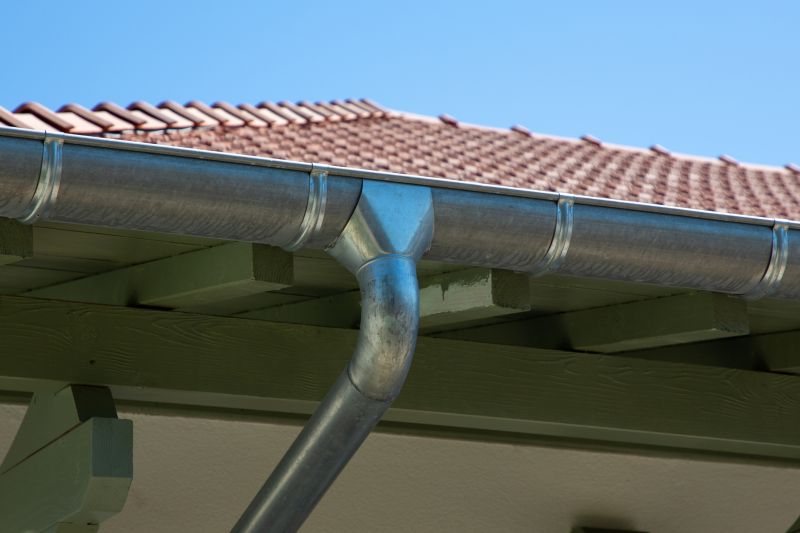
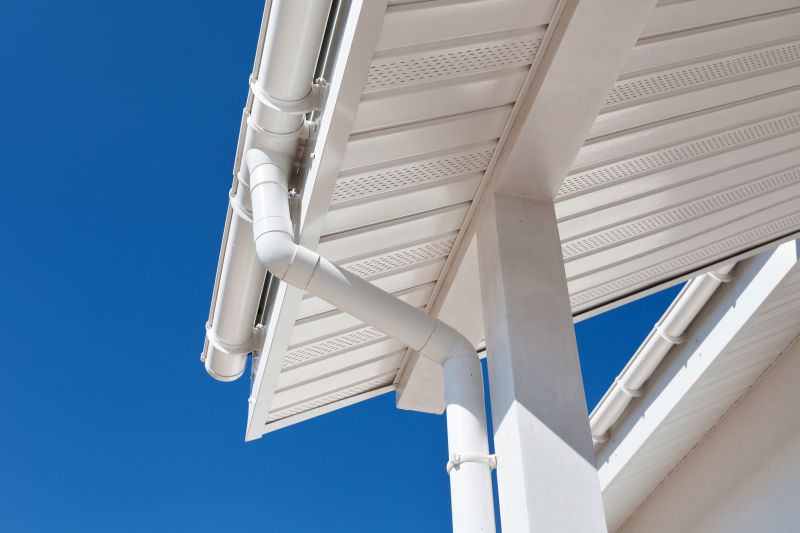
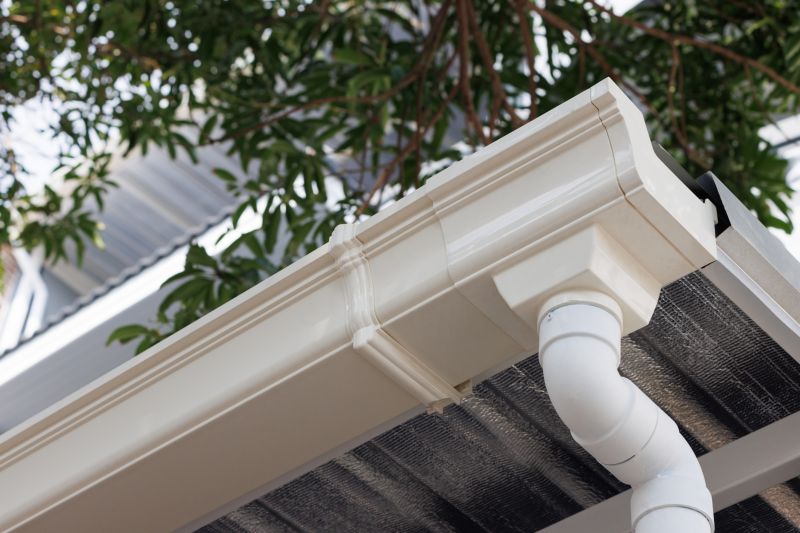
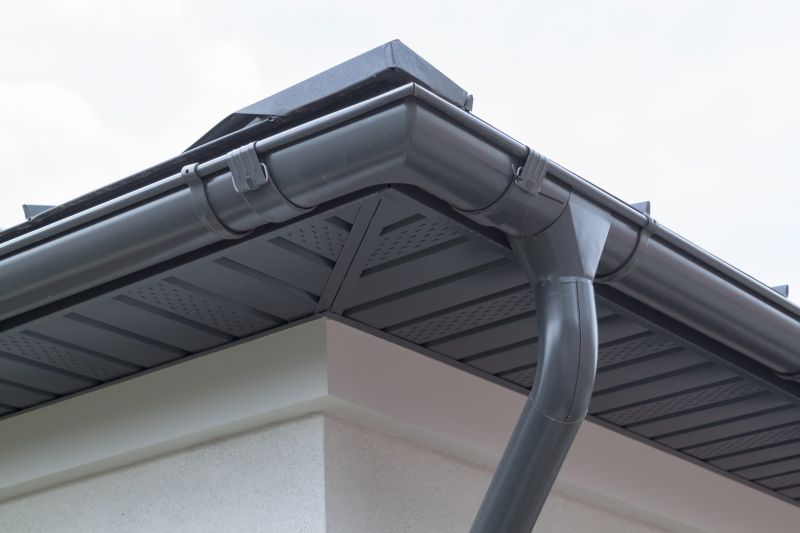
Step 3: Attach the Elbows
Attach the elbows to each end of the downspout. This will help redirect the water flow away from the foundation of your house. Secure the elbows using screws.
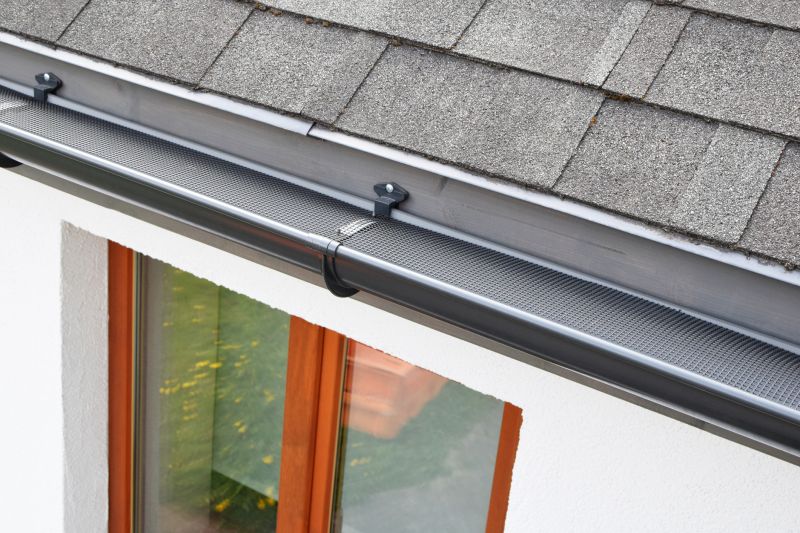
Step 4: Install the Downspout
Hold the downspout against the wall, aligning it with the pencil mark. Use a drill to secure the downspout brackets to the wall, ensuring that they are evenly spaced along the length of the downspout.
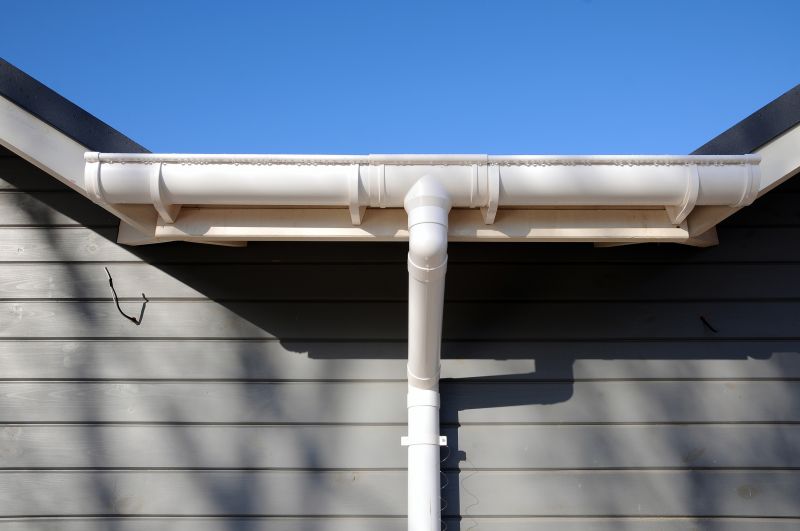
Step 5: Connect the Downspout
Connect the downspout to the gutter outlet by sliding it into place. Make sure it fits securely and is aligned properly.
Step 6: Seal the Joints
Apply silicone sealant to the joints of the downspout and elbows to prevent any leaks. Smooth out the sealant using a putty knife or your finger.
Step 7: Test the Downspout
Once the installation is complete, run water through the gutter system to test the downspout. Check for any leaks or water flow issues and make adjustments if necessary.
Congratulations! You have successfully installed a downspout to help manage rainwater drainage from your roof.