Gutter Accessories Installation | How To
Get help with your gutter accessories installation needs. Fill out the form above and we will connect you with local pros in your area. When it comes to enhancing the functionality and appearance of your gutters, the process of installing gutter accessories can be a game-changer. Gutter accessories installation involves the addition of supplementary components that optimize the performance and longevity of your gutter system. These accessories are designed to address common gutter issues such as clogging, overflow, and damage caused by debris and extreme weather conditions. By incorporating gutter accessories, you can effectively prevent water damage, improve water flow, and maintain the overall integrity of your gutter system. From gutter guards and downspout extensions to rain chains and splash blocks, there are various options available to suit your specific needs. Proper installation of these gutter accessories ensures that your gutters remain functional and efficient, providing long-lasting protection for your home.
How to Install Gutter Accessories
Step 1: Gather the Necessary Tools and Materials
Before you begin the installation process, make sure you have the following tools and materials:
- Gutter accessories (e.g., gutter guards, downspout extensions)
- Gloves
- Safety goggles
- Ladder
- Measuring tape
- Marker or pencil
- Screws or nails
- Screwdriver or hammer
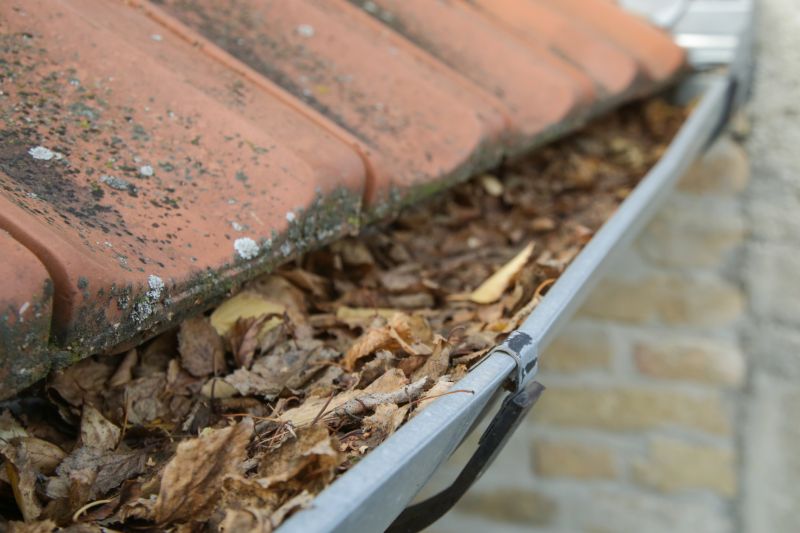
Step 2: Prepare the Gutter
Inspect your gutter system and ensure it is clean and free from debris. Remove any leaves, twigs, or other obstructions that may prevent proper installation of the accessories.
Step 3: Measure and Mark
Measure the length of the gutter where you plan to install the accessories. Use a measuring tape and mark the desired locations for installation using a marker or pencil.
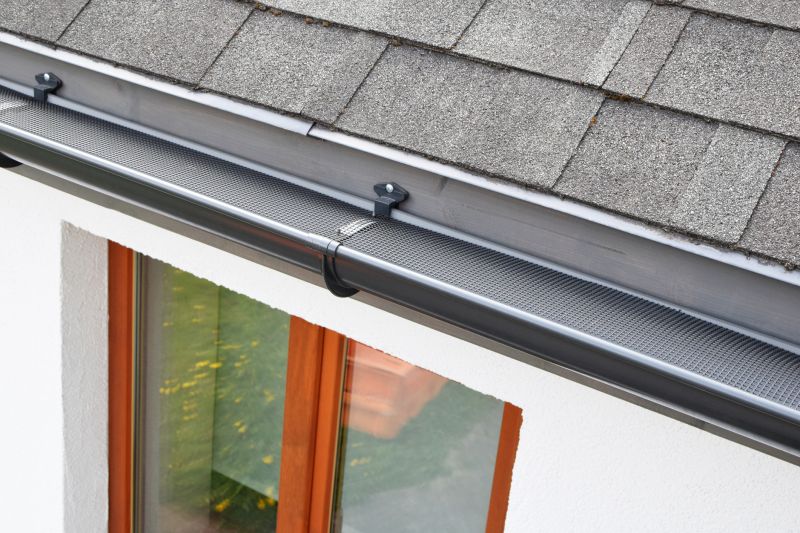
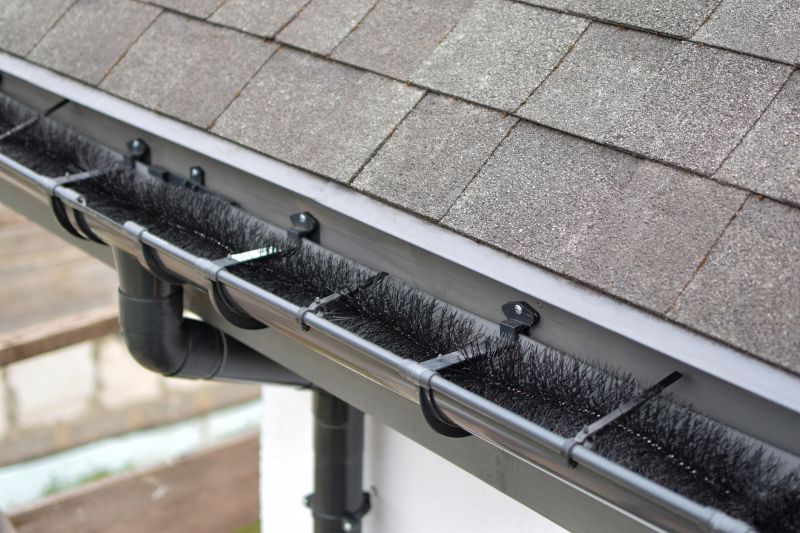
Step 4: Install Gutter Guards
If you are installing gutter guards, carefully position them on top of the gutter. Ensure they align with the marked locations. Secure them in place using screws or nails.
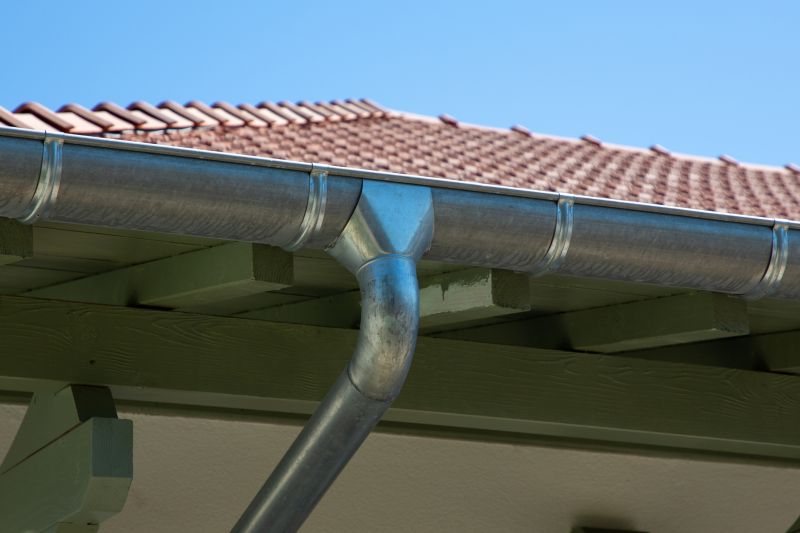
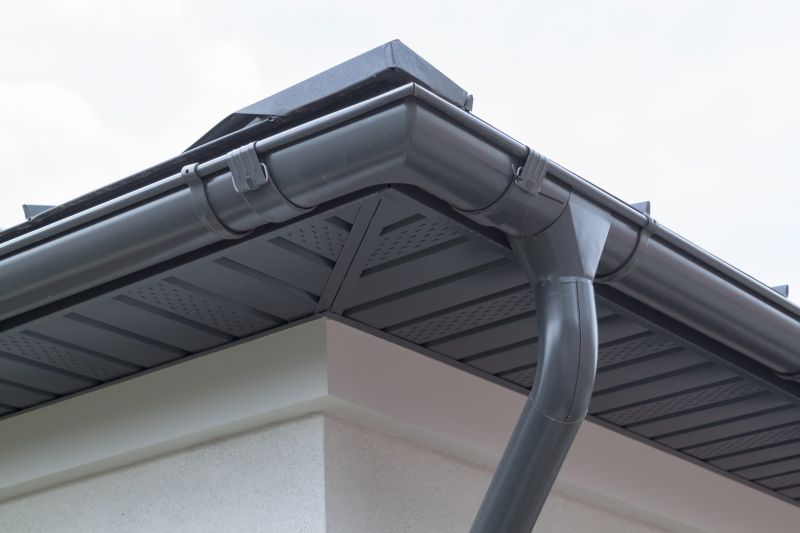
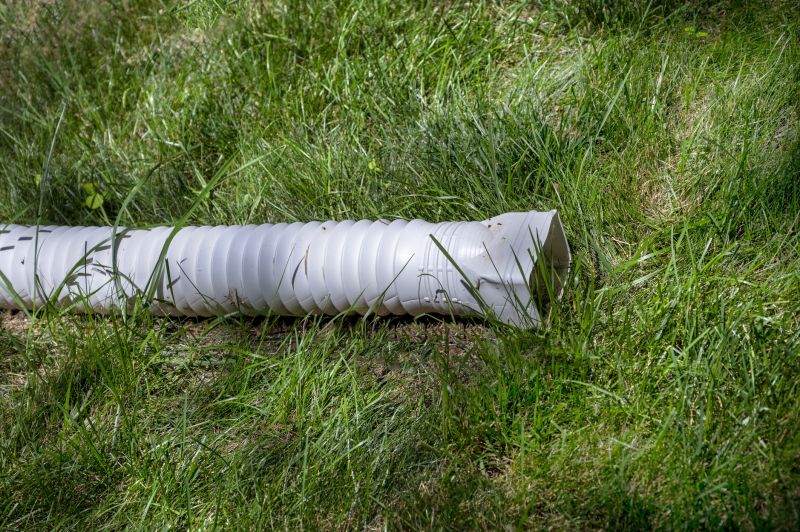
Step 5: Attach Downspout Extensions
If you need to install downspout extensions, position them at the end of the downspout. Ensure they are aligned with the desired drainage location. Use screws or nails to attach the extensions securely.
Step 6: Test and Adjust
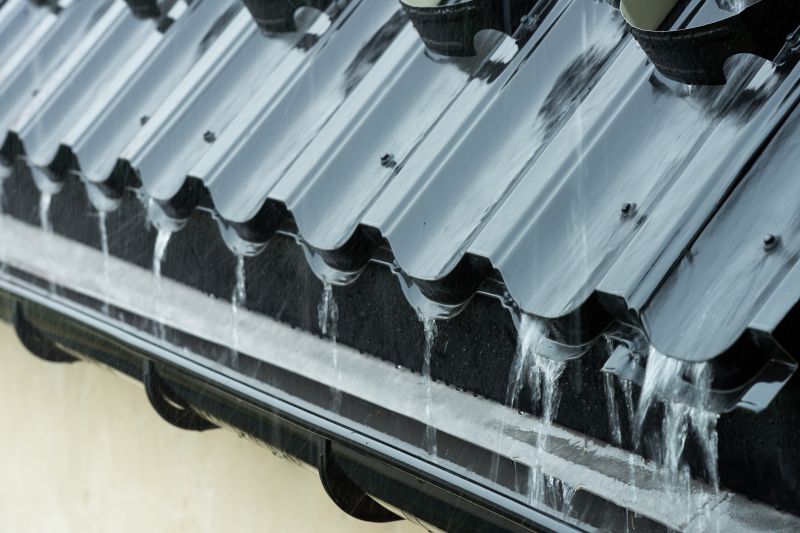
After installing the gutter accessories, run water through the gutter system to test their functionality. Check for any leaks or misalignments. Make necessary adjustments to ensure proper water flow and drainage.
Step 7: Clean Up
Once you are satisfied with the installation, clean up any debris or tools from the work area. Dispose of waste materials properly.
Conclusion
By following these steps, you can successfully install gutter accessories to enhance the functionality and longevity of your gutter system. Regular maintenance and cleaning will help ensure optimal performance.