Gutter End Cap Installation | How To
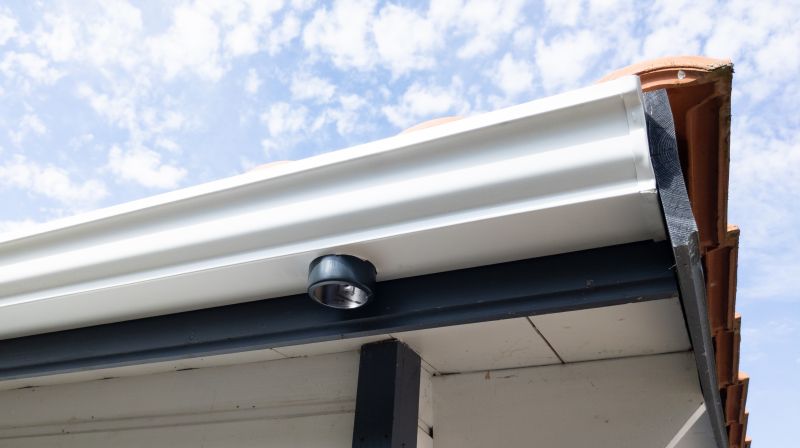
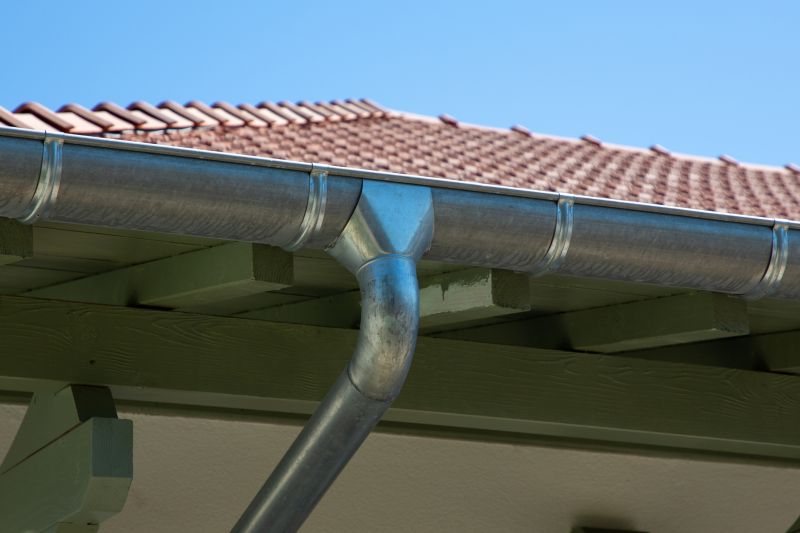
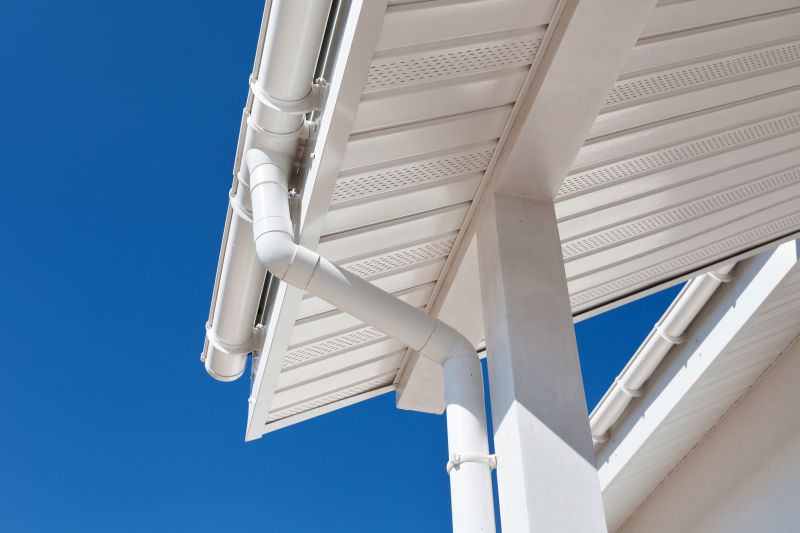
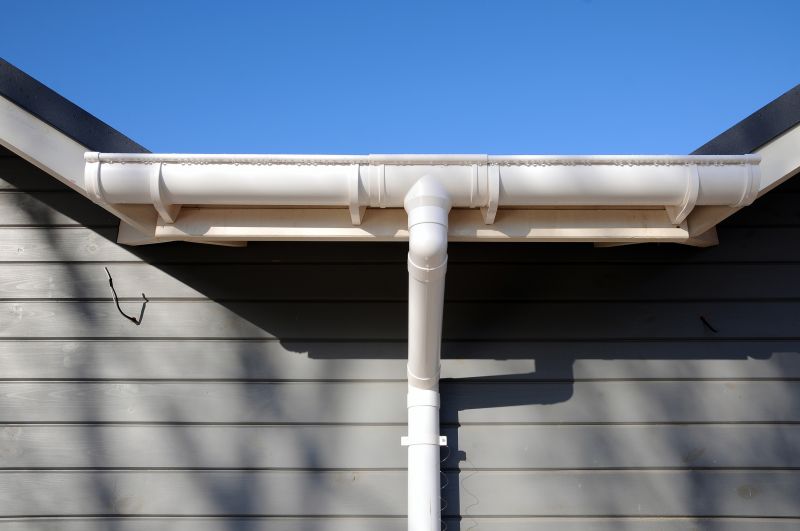
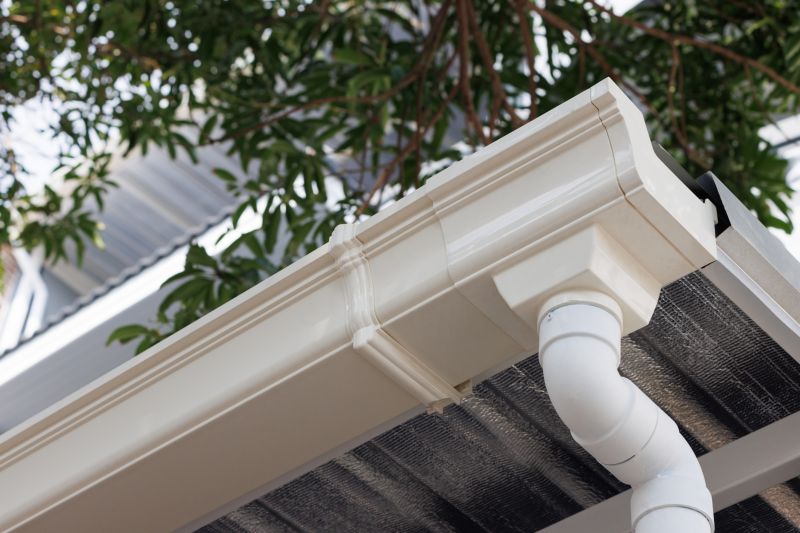
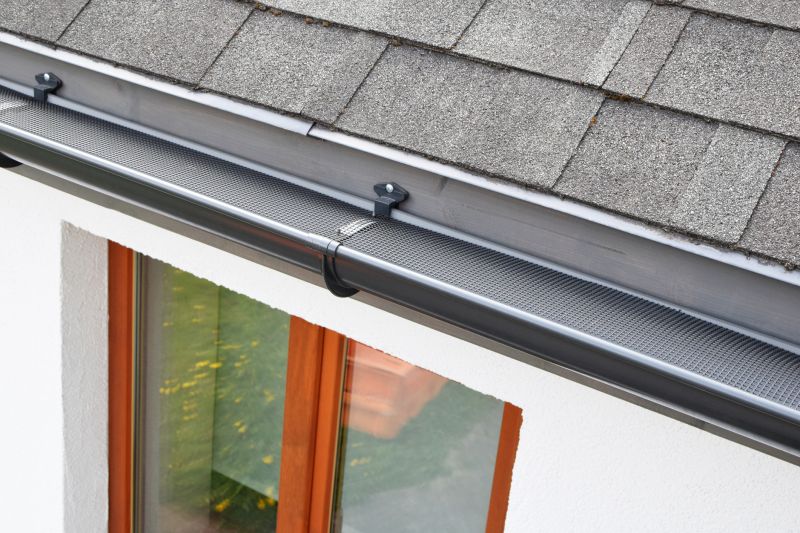
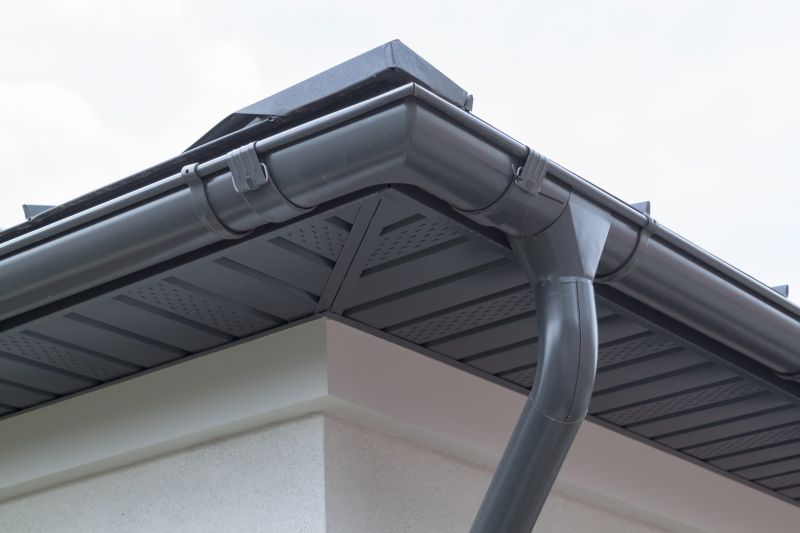
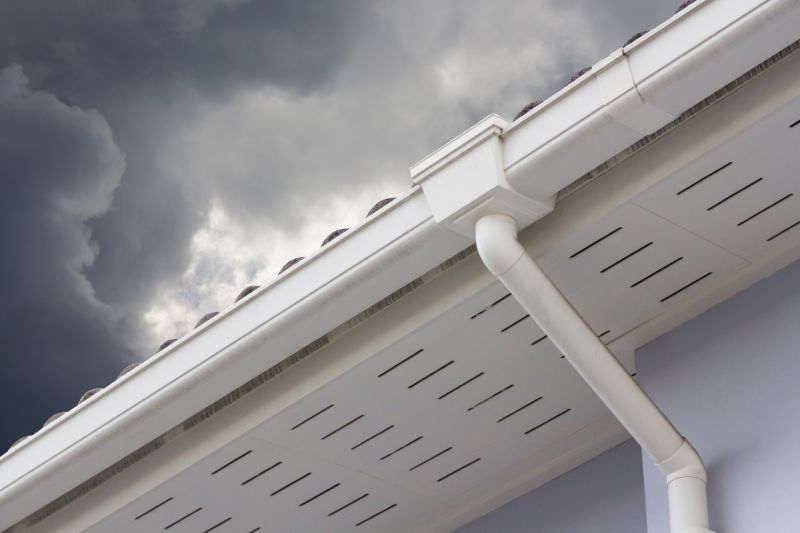
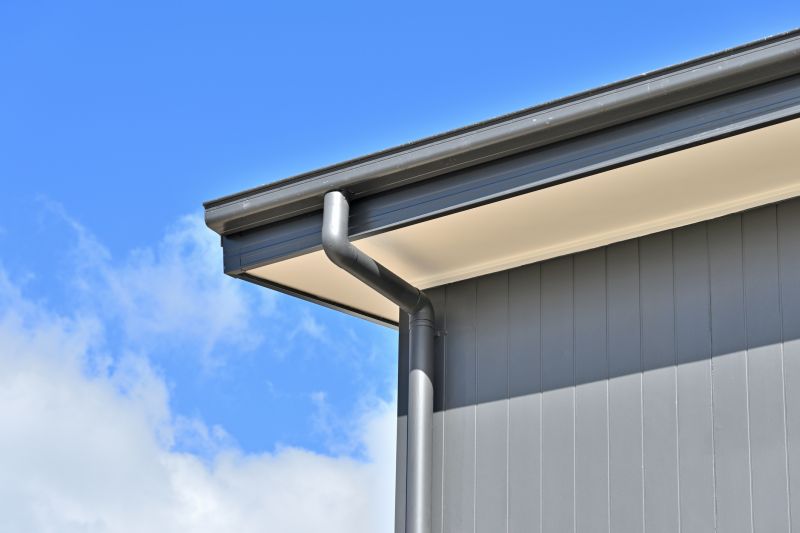
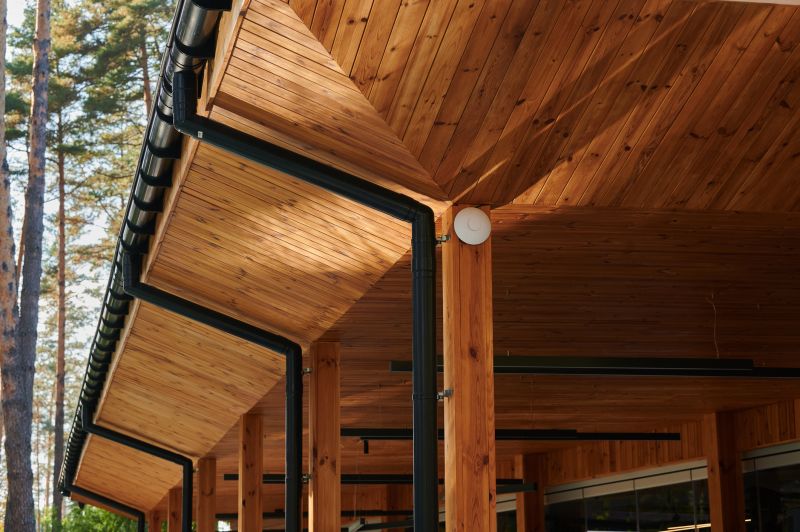
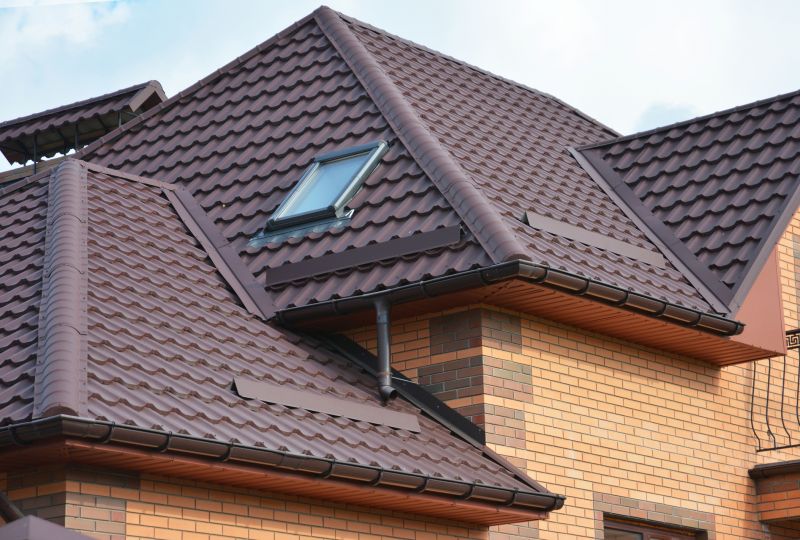
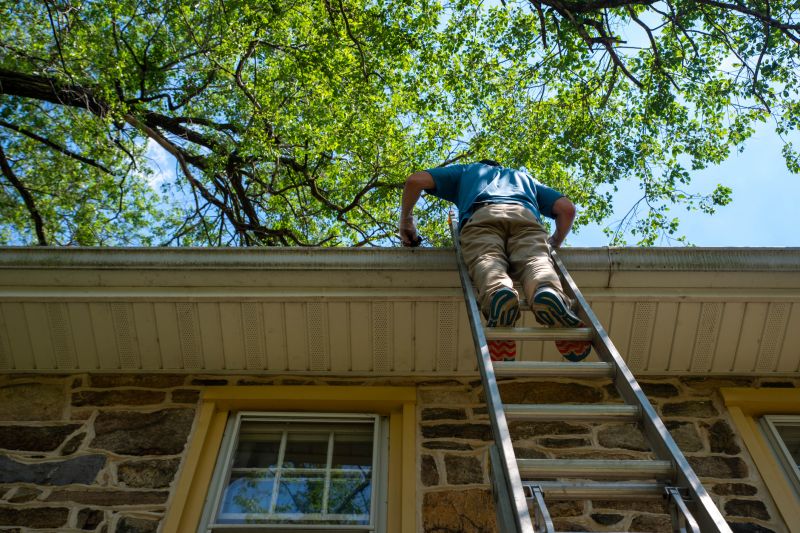
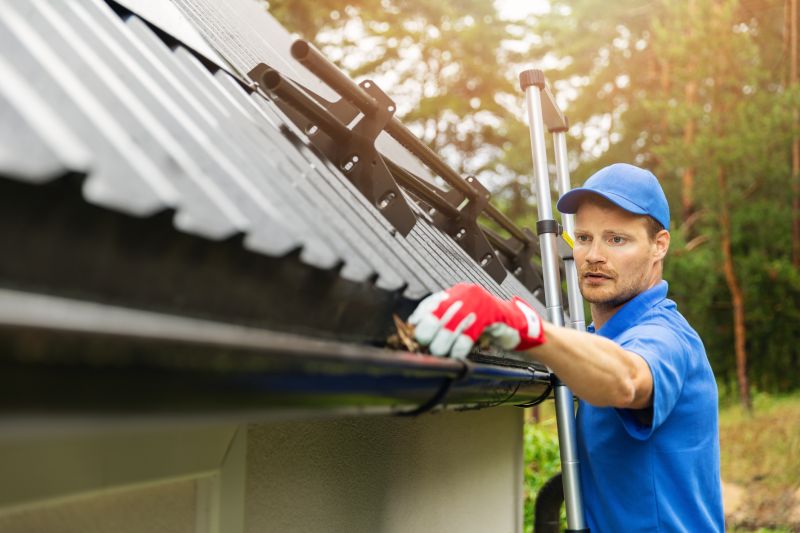
Get help with your gutter end cap installation needs. Fill out the form above and we will connect you with local pros in your area. Gutter end cap installation is a crucial step in ensuring the proper functioning of your gutter system. It involves attaching end caps to the edges of your gutters, effectively sealing them and preventing water from leaking out. This process helps to maintain the integrity of your gutter system, preventing water damage to your property's foundation, walls, and landscaping. By securely fastening the end caps, you can ensure that rainwater is directed away from your home, reducing the risk of costly repairs and potential structural issues. Professional installation services can efficiently handle this task, ensuring a seamless and durable end cap attachment.
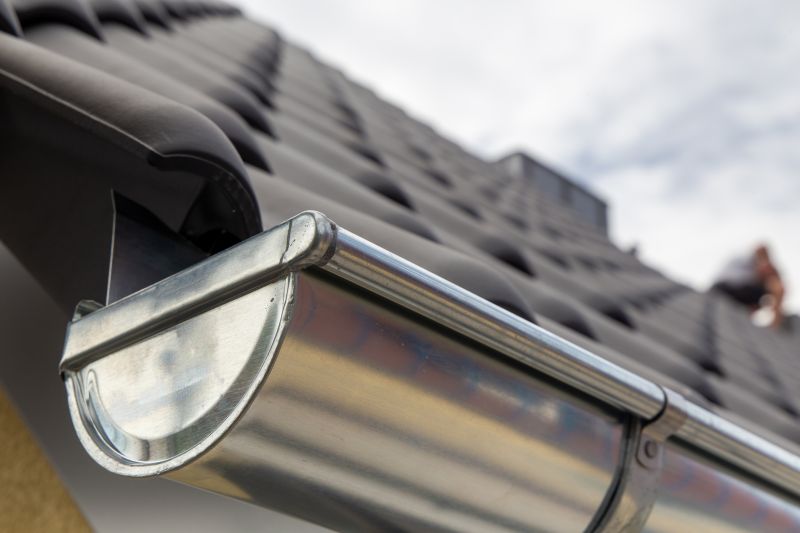
How to Install Gutter End Caps
Step 1: Gather the Necessary Tools and Materials
Before starting the installation process, make sure you have the following tools and materials:
- Gutter end caps
- Gutter sealant
- Gutter screws
- Drill
- Screwdriver
- Hacksaw or tin snips
- Measuring tape
- Pencil or marker
- Gloves
- Safety glasses
Step 2: Measure and Mark the Gutter
Measure the length of the gutter where you need to install the end cap. Mark the spot with a pencil or marker.
Step 3: Cut the Gutter
Using a hacksaw or tin snips, cut the gutter at the marked spot. Make sure to wear gloves and safety glasses for protection.
Step 4: Apply Gutter Sealant
Apply gutter sealant to the inside of the end cap. This will help create a watertight seal.
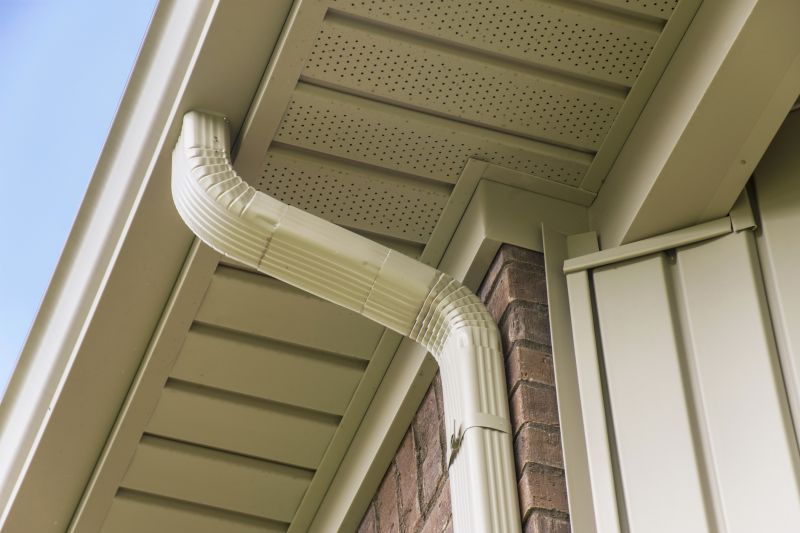
Step 5: Insert the End Cap
Insert the end cap into the cut end of the gutter. Make sure it fits securely.
Step 6: Secure the End Cap
Using gutter screws, secure the end cap to the gutter. Make sure to evenly space the screws for a secure installation.
Step 7: Test for Leaks
After the installation is complete, run water through the gutter to test for any leaks. If any leaks are found, reapply gutter sealant as needed.
Step 8: Clean Up
Remove any excess sealant or debris from the gutter and surrounding area. Dispose of materials properly.
Congratulations! You have successfully installed gutter end caps. Ensure to regularly inspect and maintain your gutters to prevent any future issues.