Custom Gutter Installation | How To
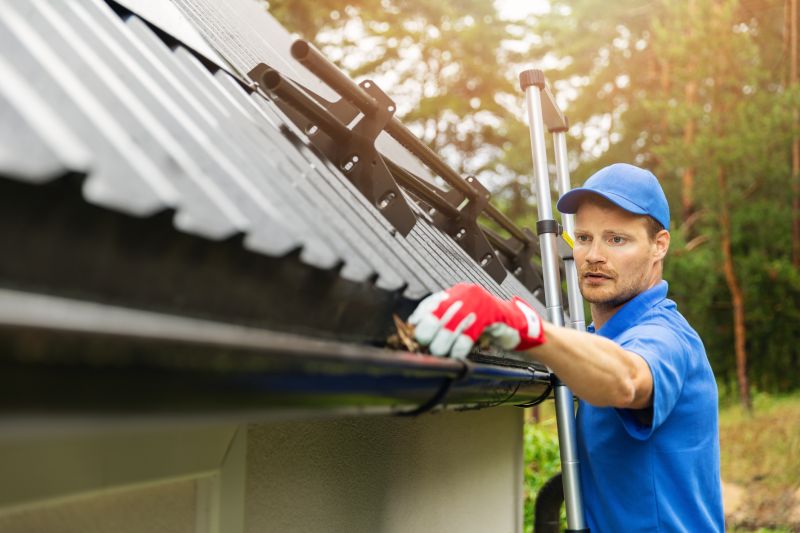
Get help with your custom gutter installation needs. Fill out the form above and we will connect you with local pros in your area. When it comes to enhancing the functionality and aesthetics of your home, one crucial aspect to consider is custom gutter installation. This specialized service involves the professional installation of gutters that are tailored to fit the specific needs of your property. By opting for custom gutter installation, you can ensure that the gutters perfectly match the dimensions and architecture of your home, providing optimal drainage and protection against water damage. With a focus on precision and attention to detail, custom gutter installation experts utilize their expertise to seamlessly integrate the gutters into your home's exterior. This personalized approach guarantees a seamless and efficient gutter system that effectively channels rainwater away from your property, safeguarding its foundation and landscaping.
How to Do Custom Gutter Installation
Step 1: Measure and Plan
Start by measuring the length of the area where you want to install the custom gutters. Take accurate measurements to ensure you order the correct amount of materials. Plan the layout and determine the number of downspouts required.
Step 2: Gather Materials
Collect all the necessary materials for the custom gutter installation. This may include gutter sections, downspouts, elbows, brackets, screws, and sealant.
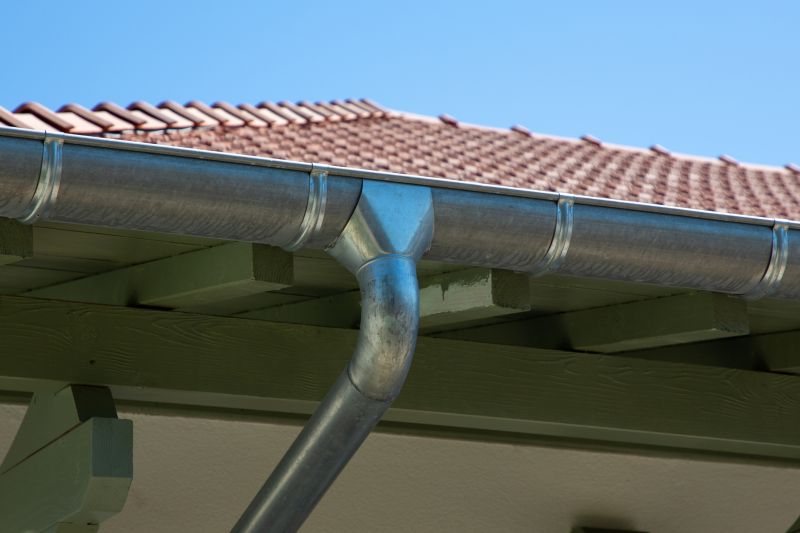
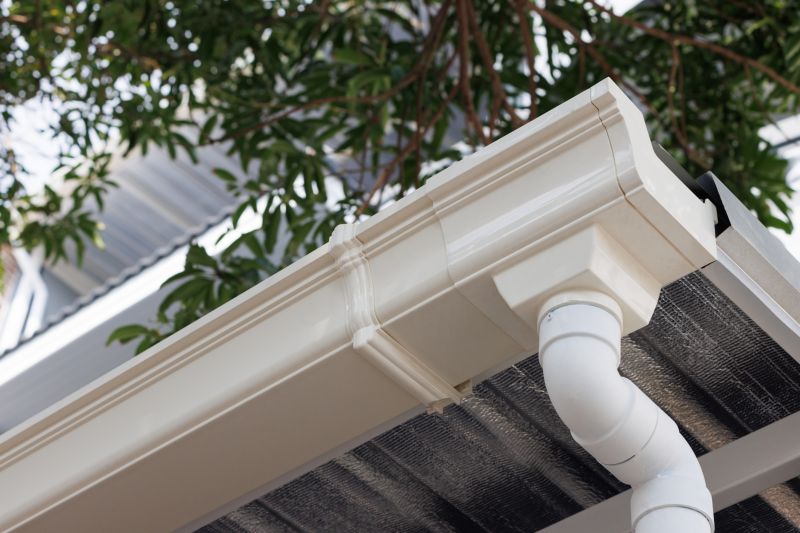
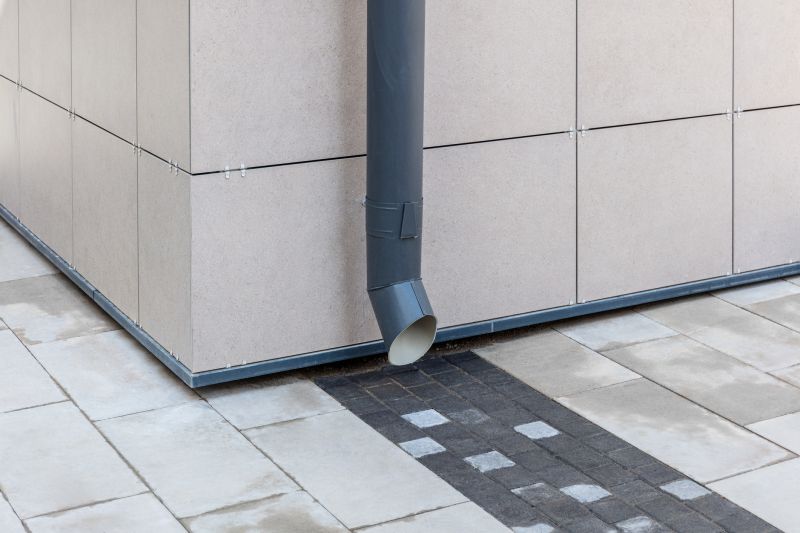
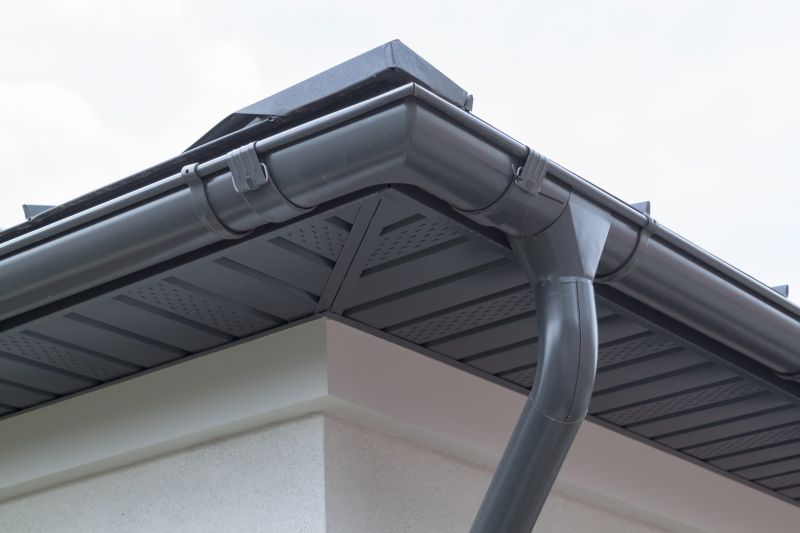
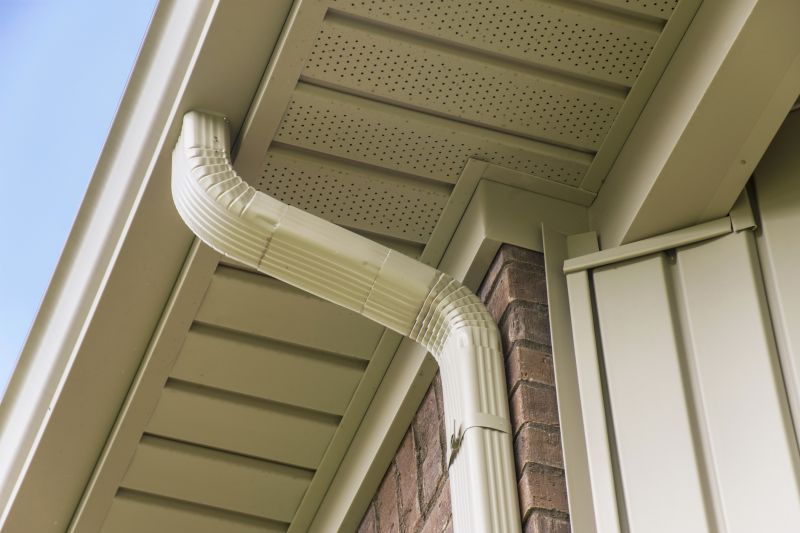
Step 3: Install Downspouts
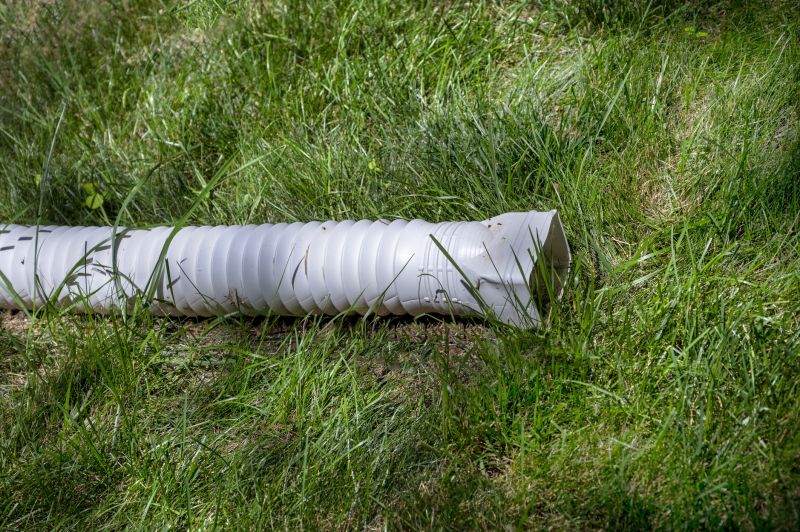
Begin by installing the downspouts. Attach them to the side of the house using brackets and screws. Ensure they are securely fastened and angled properly to direct water away from the foundation.
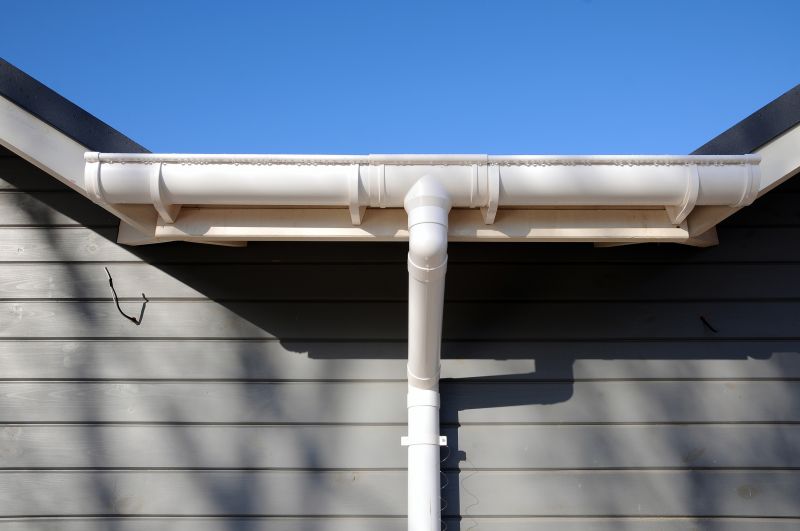
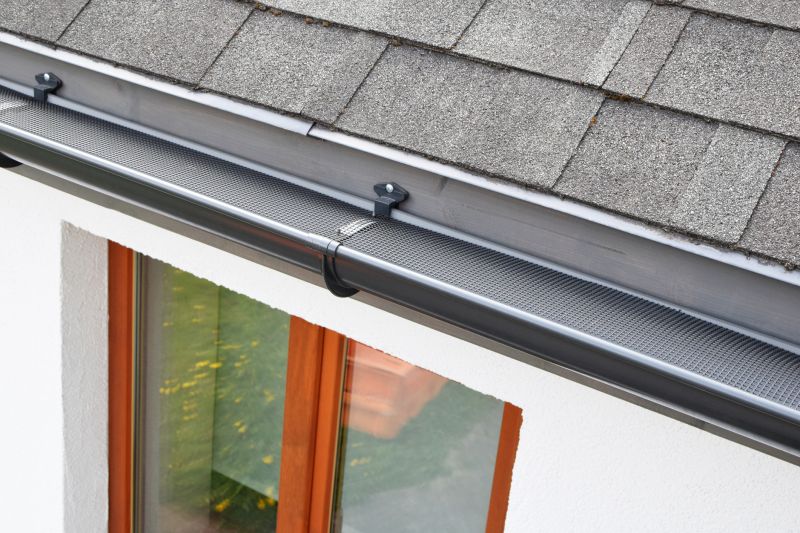
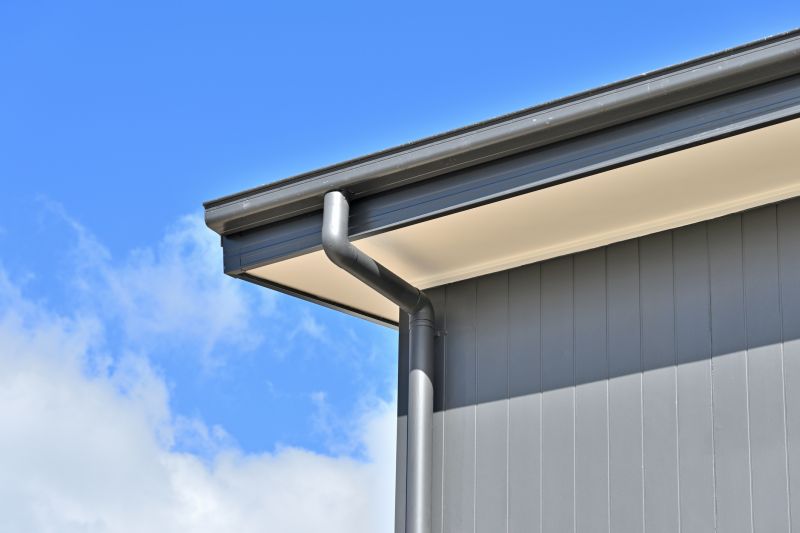
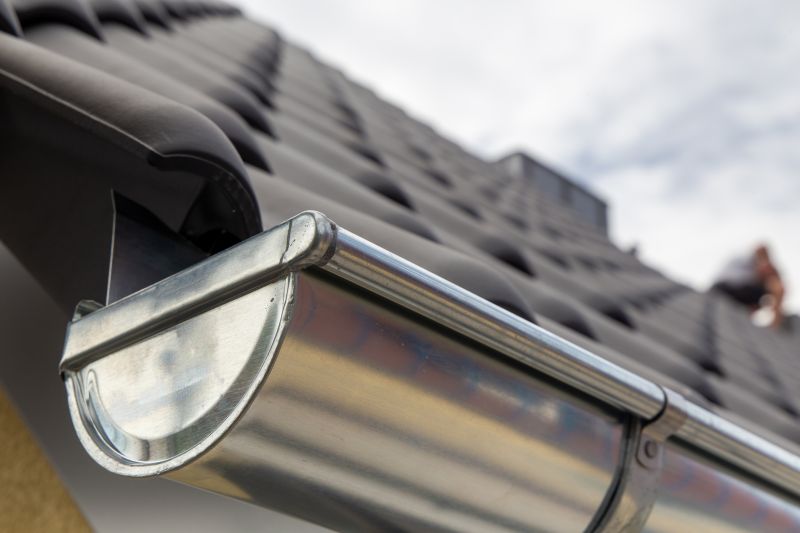
Step 4: Install Gutter Sections
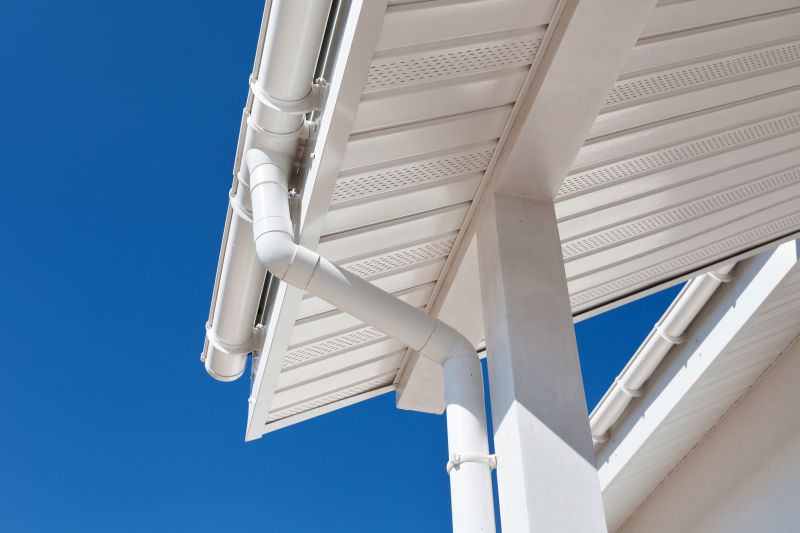
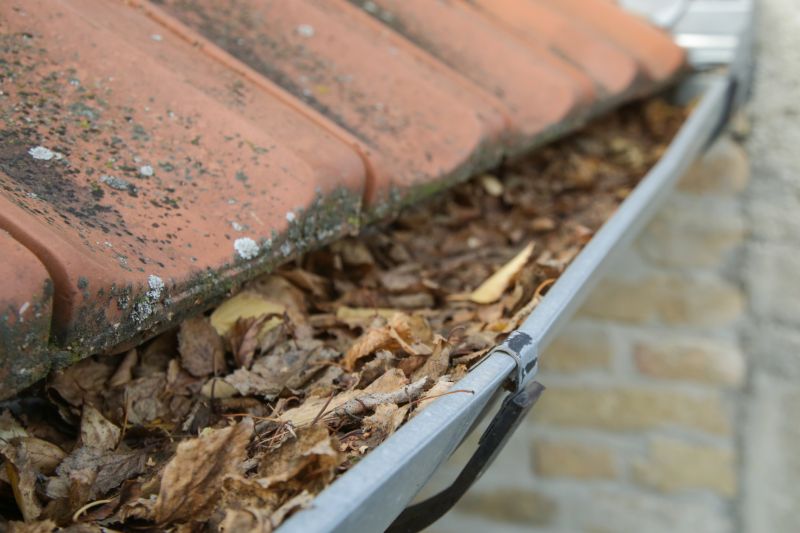
Install the gutter sections along the measured area. Connect them using elbows and secure them to the fascia board using brackets and screws. Make sure the gutters have a slight slope towards the downspouts for proper drainage.
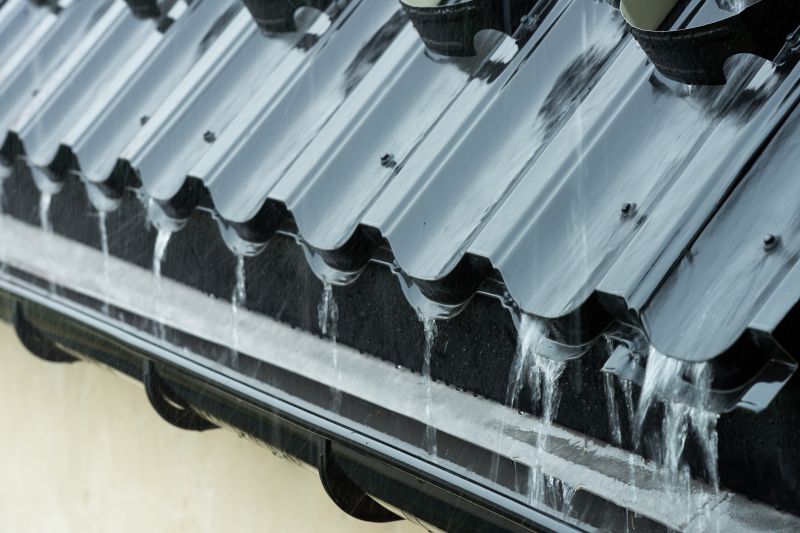
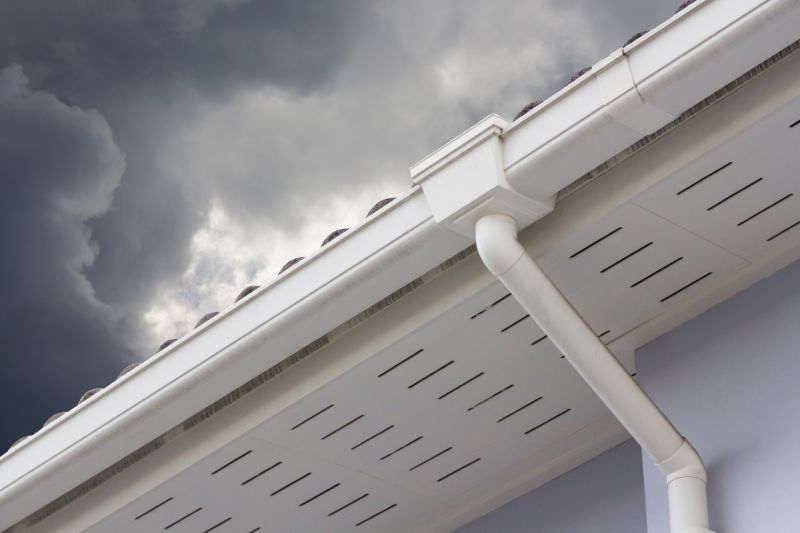
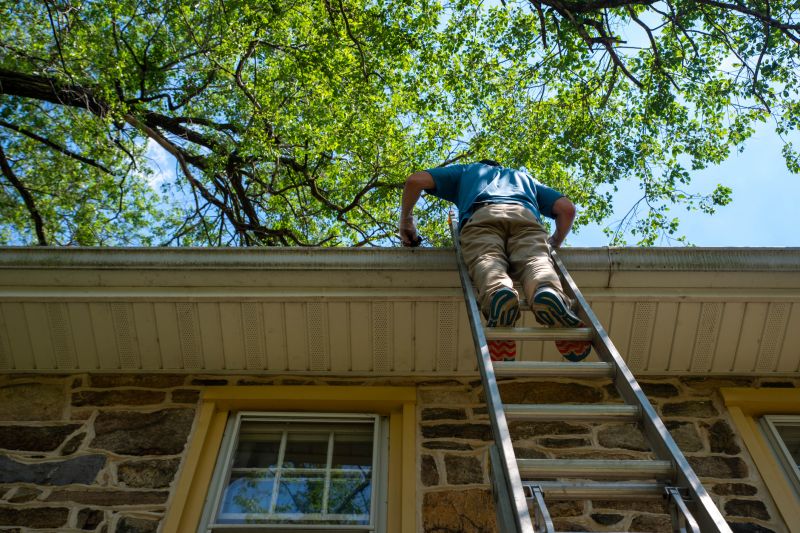
Step 5: Test and Adjust
Once the gutters are installed, test them by pouring water into the highest point. Check for any leaks or improper drainage. Make any necessary adjustments to ensure the gutters are functioning correctly.
Step 6: Seal and Finish
Apply a waterproof sealant to all joints and connections to prevent leaks. Clean up any debris or excess sealant. Your custom gutter installation is now complete!