How to Install Fascia Gutters
Step 1: Gather the Necessary Tools and Materials
Before starting the installation process, make sure you have the following tools and materials:
- Gutter sections
- End caps
- Gutter hangers
- Downspout
- Gutter screws
- Gutter sealant
- Drill
- Tape measure
- Hacksaw
- Screwdriver
- Caulking gun
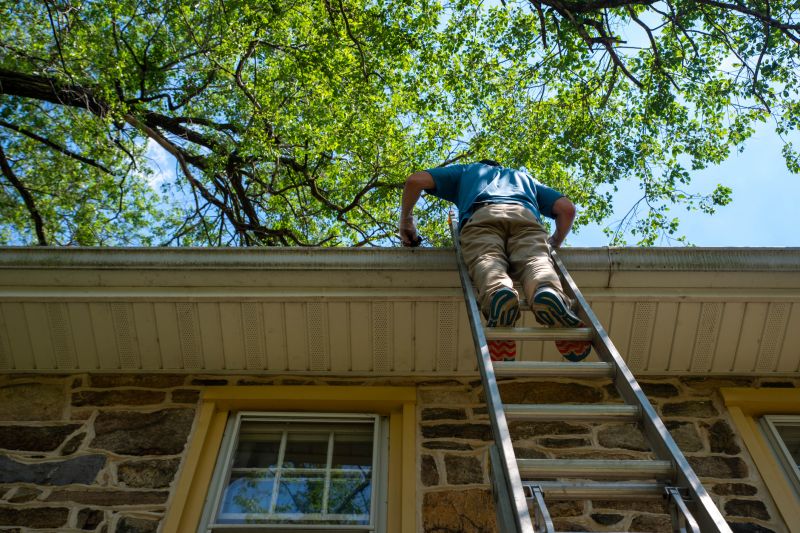
Step 2: Measure and Mark
Using a tape measure, measure the length of the fascia where you plan to install the gutter. Mark the positions for the downspout and gutter hangers.
Step 3: Cut Gutter Sections
Using a hacksaw, cut the gutter sections according to the measurements you took in the previous step. Make sure the ends are square and clean.
Step 4: Install End Caps
Attach the end caps to each end of the gutter sections. Use a screwdriver to secure them in place.
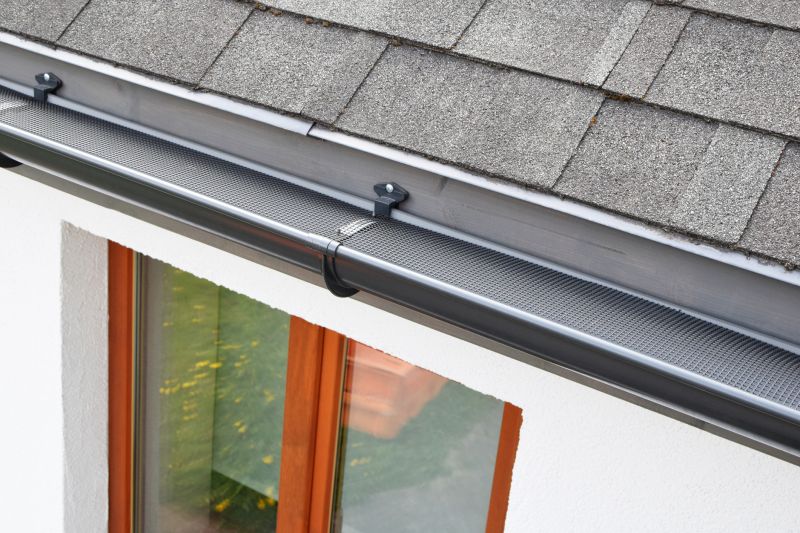
Step 5: Install Gutter Hangers
Attach the gutter hangers to the fascia using a drill. Space them evenly along the length of the gutter, ensuring proper support.
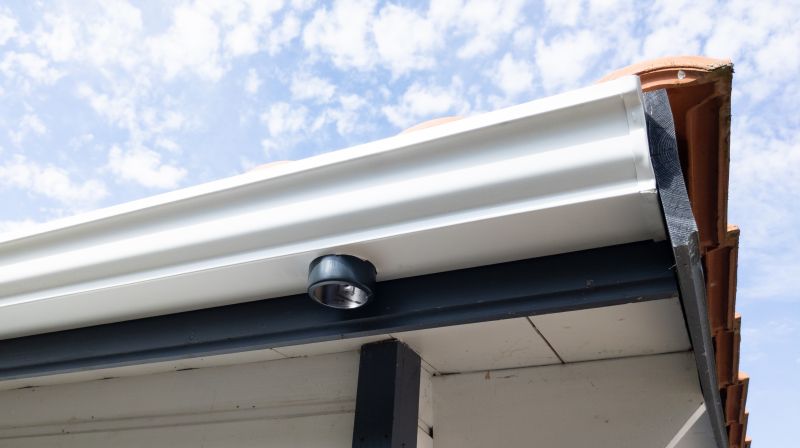
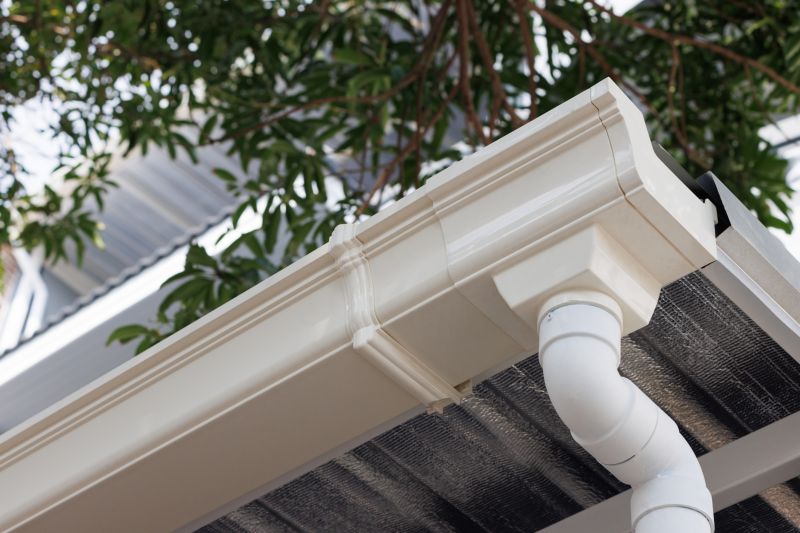
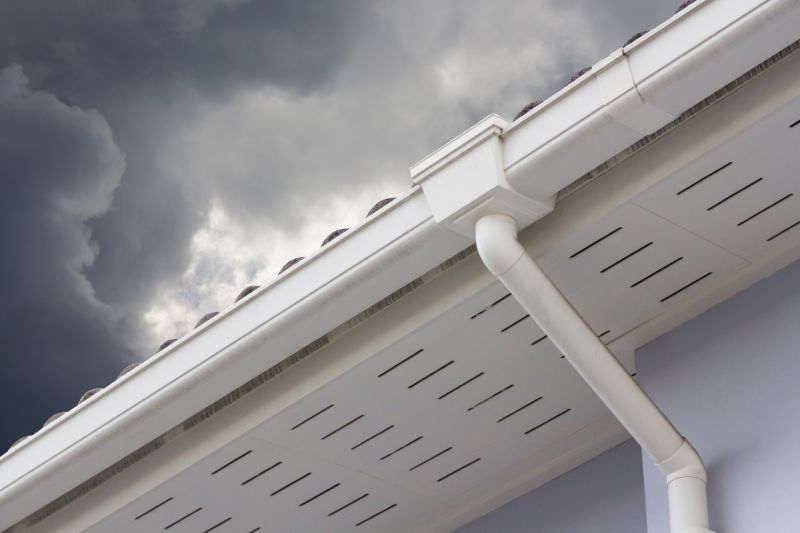
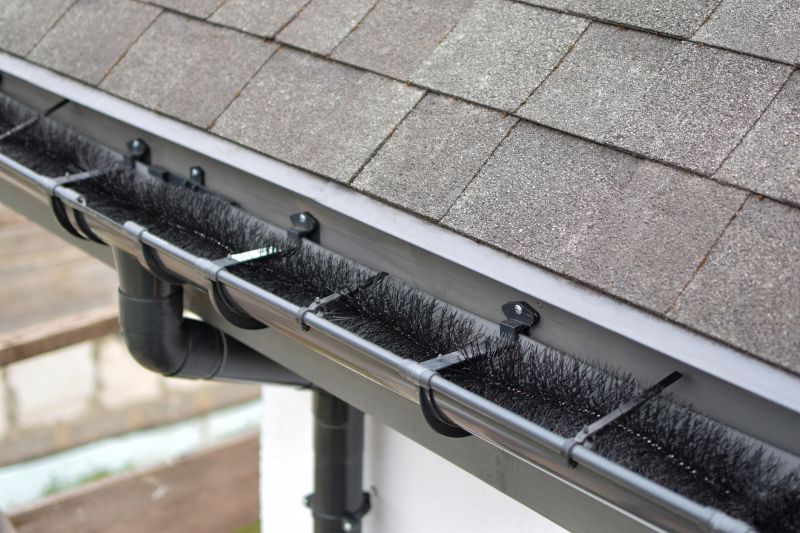
Step 6: Mount the Gutter Sections
Place the gutter sections onto the hangers, making sure they are properly aligned and level. Secure the sections to the hangers using gutter screws.
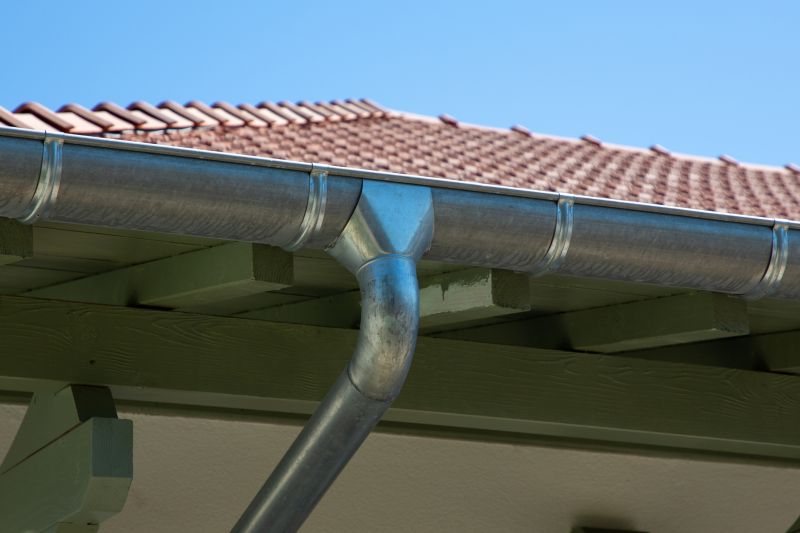
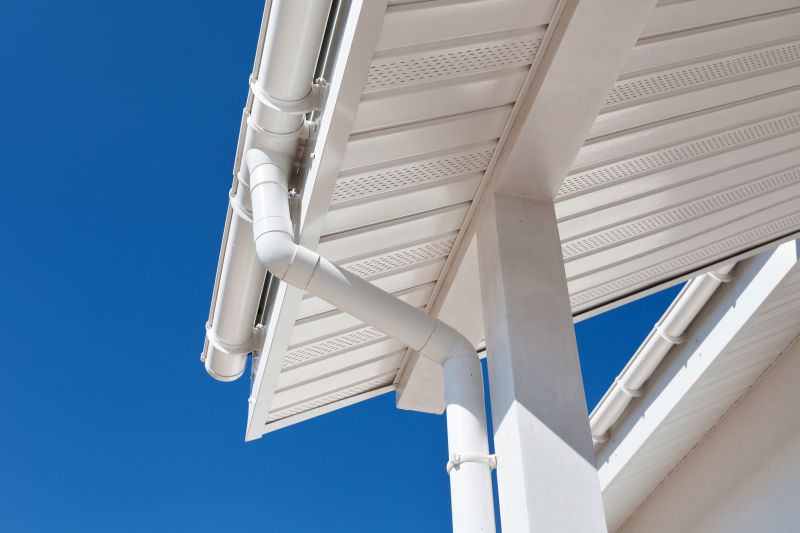
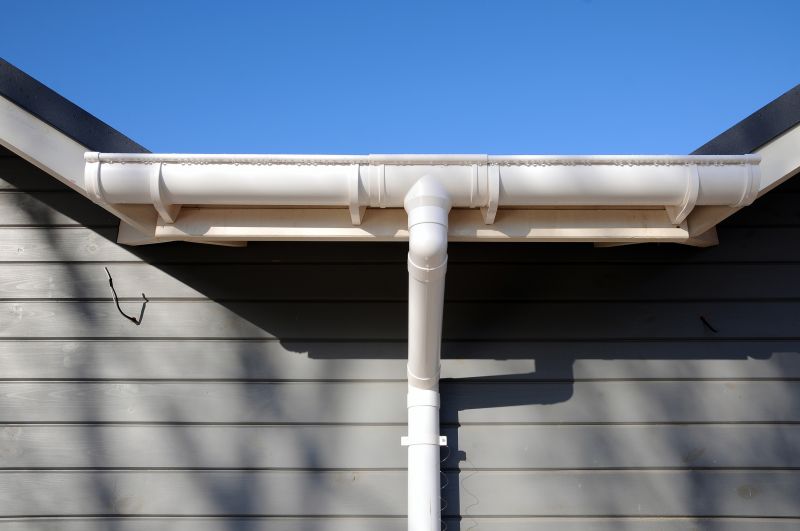
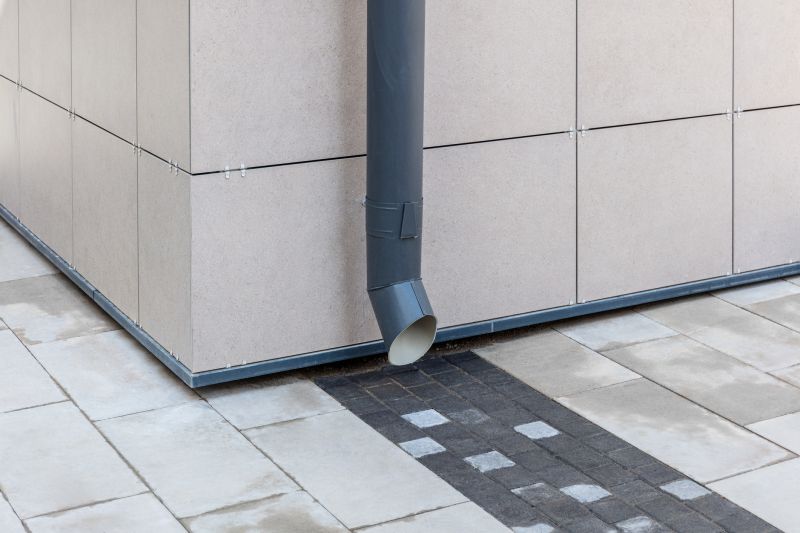
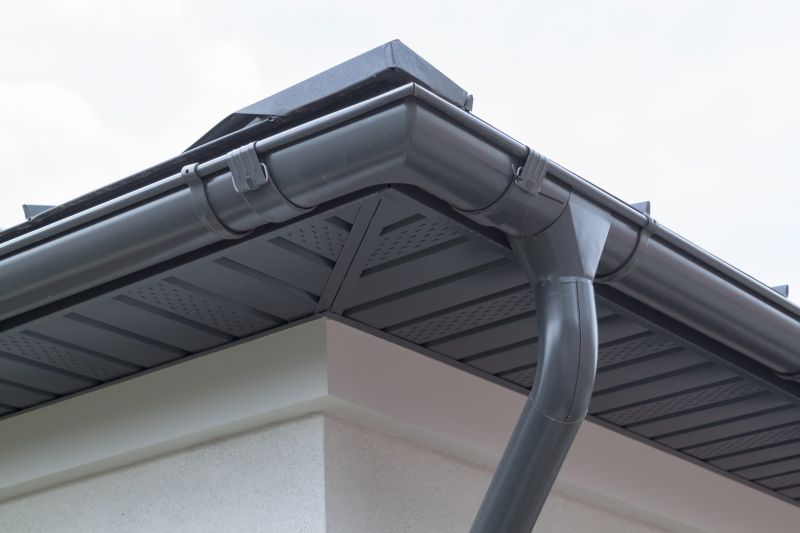
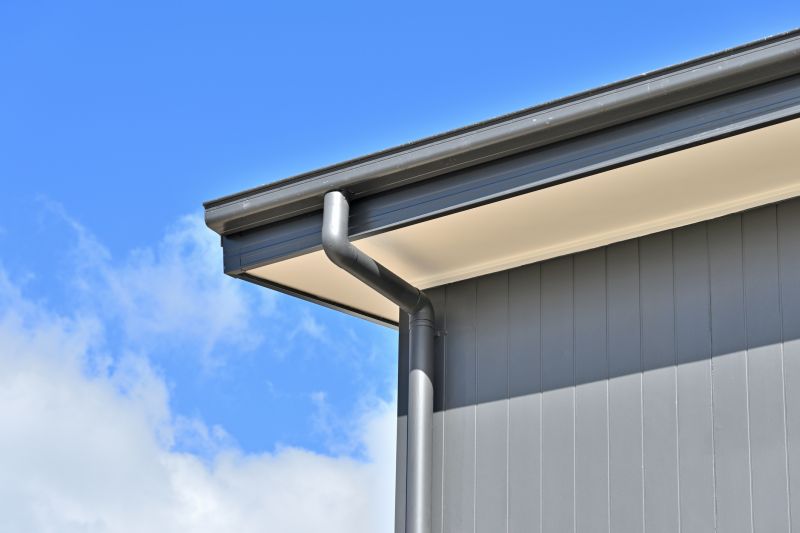
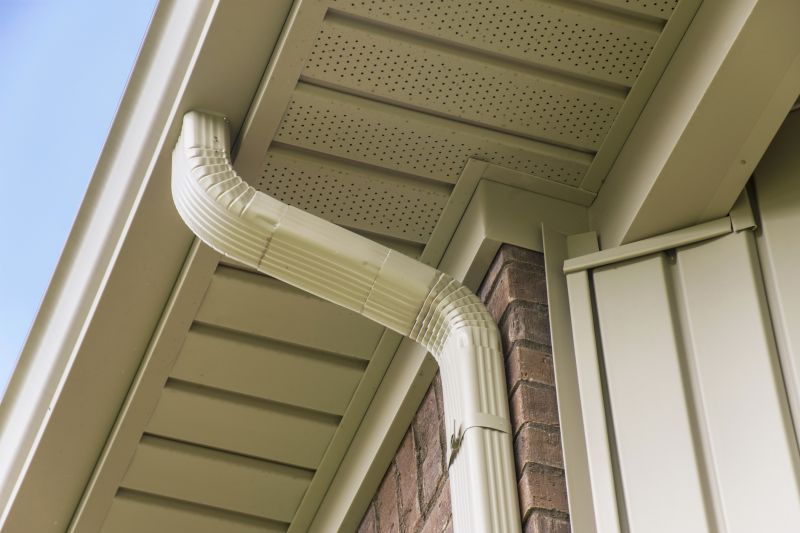
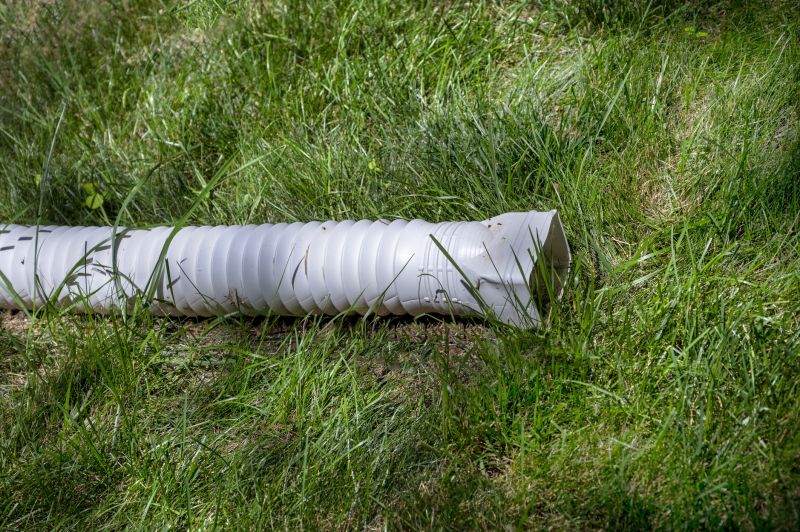
Step 7: Install the Downspout
Attach the downspout to the gutter using screws or brackets. Make sure it is positioned to direct water away from the foundation of your home.
Step 8: Seal the Joints
Apply gutter sealant to the joints and connections to prevent leaks. Use a caulking gun for precise application.
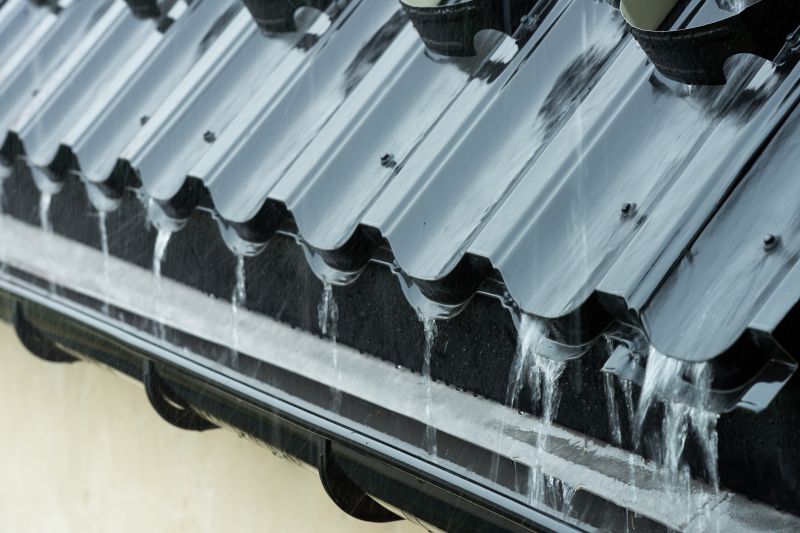
Step 9: Test the System
Run water through the gutter system to ensure proper drainage. Make any necessary adjustments or repairs if needed.
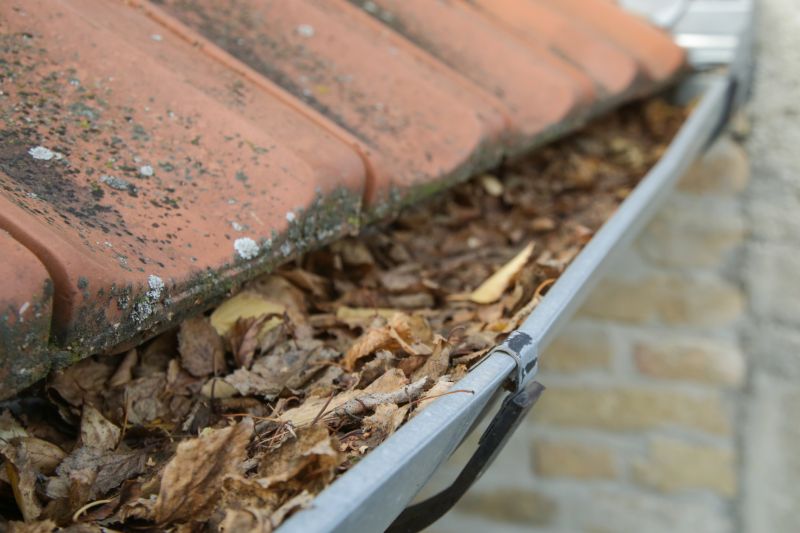
Step 10: Regular Maintenance
Keep your gutters clean and free from debris to maintain optimal functionality. Regularly inspect for any damage or leaks.
Congratulations! You have successfully installed fascia gutters.