How to Aluminum Gutter Installation

Aluminum Gutter Installation | How To

Zip

Get help with your aluminum gutter installation needs. Fill out the form above and we will connect you with local pros in your area. Aluminum gutter installation is the process of fitting aluminum gutters onto residential or commercial buildings to effectively manage rainwater runoff. This type of gutter installation involves the use of durable and lightweight aluminum materials that are known for their rust resistance and longevity. With aluminum gutter installation, property owners can ensure proper drainage and protection against water damage to their roofs, walls, and foundation. Professional installers expertly position and secure the aluminum gutters, ensuring a seamless and reliable system to divert rainwater away from the property. The installation process involves measuring, cutting, and attaching the gutters to the appropriate areas of the building, such as the eaves or roof edges. Properly installed aluminum gutters can enhance the overall aesthetics of the property while providing essential functionality.


How to Install Aluminum Gutters

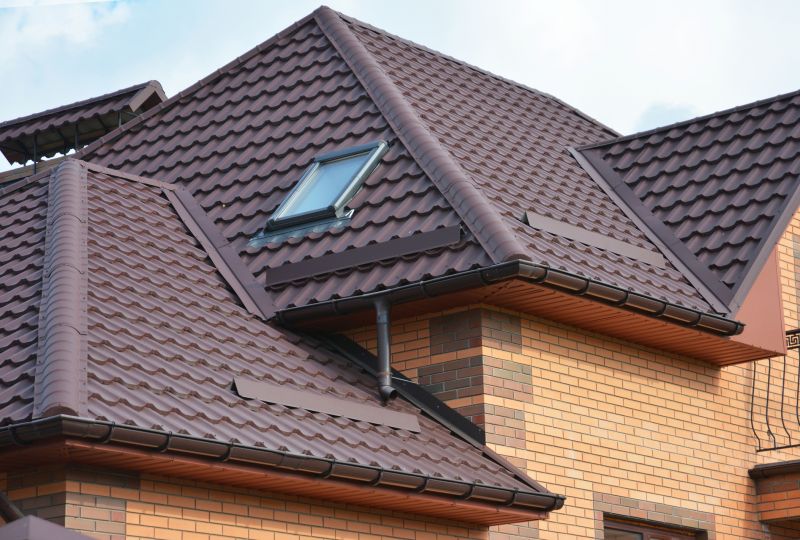
Step 1: Measure and Plan

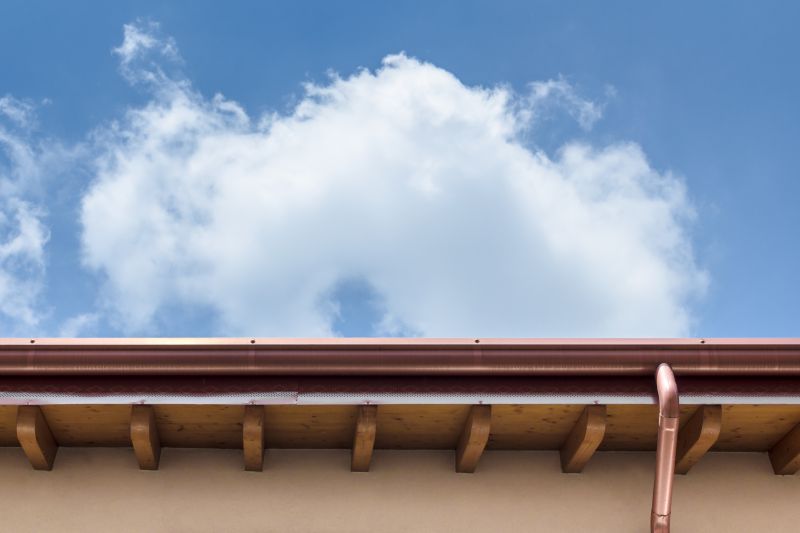
Start by measuring the length of your roofline where you want to install the gutters. Use a tape measure to get an accurate measurement.

Next, plan the placement of downspouts and corners to ensure proper drainage. Mark these areas on the fascia board.

Step 2: Gather Materials

Before starting the installation, gather all the necessary materials including aluminum gutters, gutter hangers, downspouts, elbows, screws, and sealant.

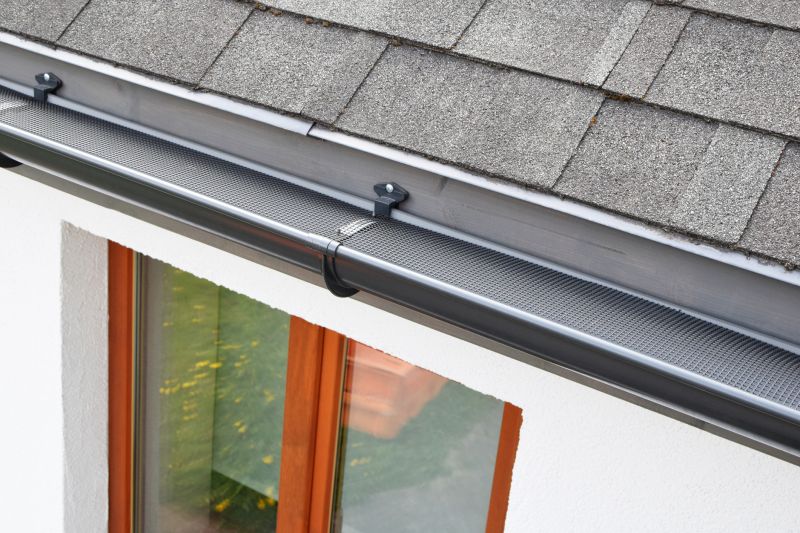
Step 3: Install Gutter Hangers

Attach gutter hangers to the fascia board at regular intervals, ensuring they are level and aligned with the marked downspout and corner locations.

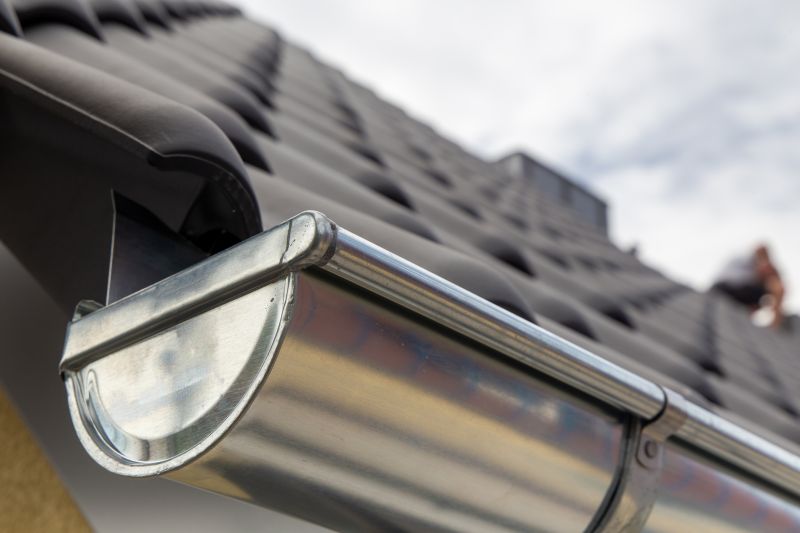
Step 4: Cut and Assemble Gutters

Measure and cut the aluminum gutters to the desired length using a hacksaw. Attach end caps and corner pieces as needed.

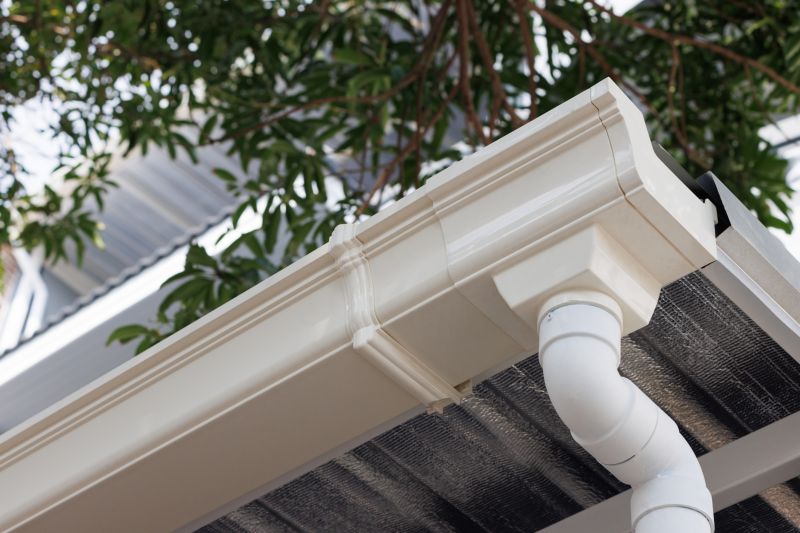
Step 5: Attach Gutters to Hangers

Slide the gutters into the hangers, making sure they are securely fastened. Use screws to secure the gutters to the hangers.

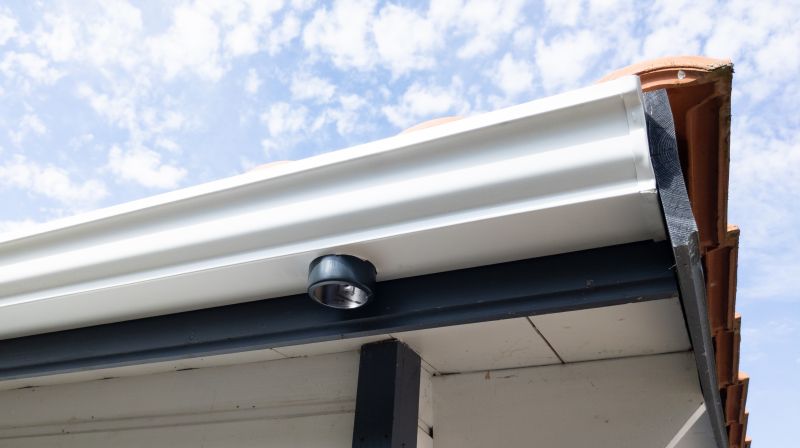
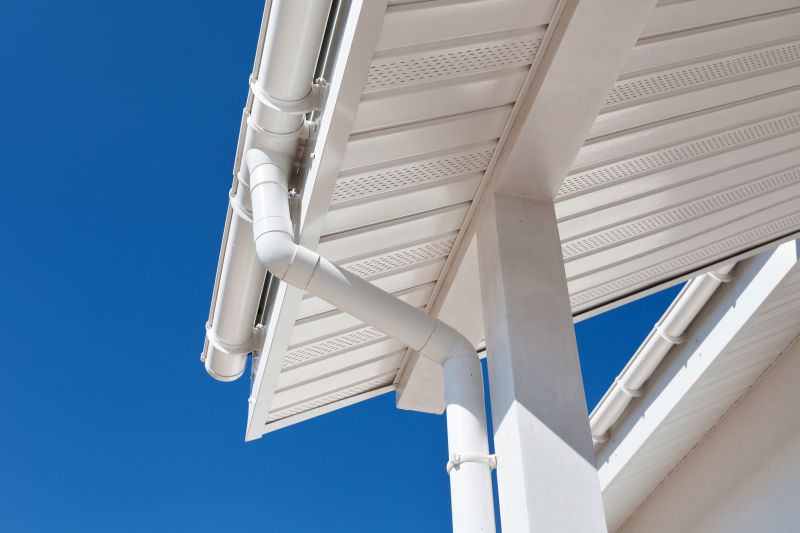
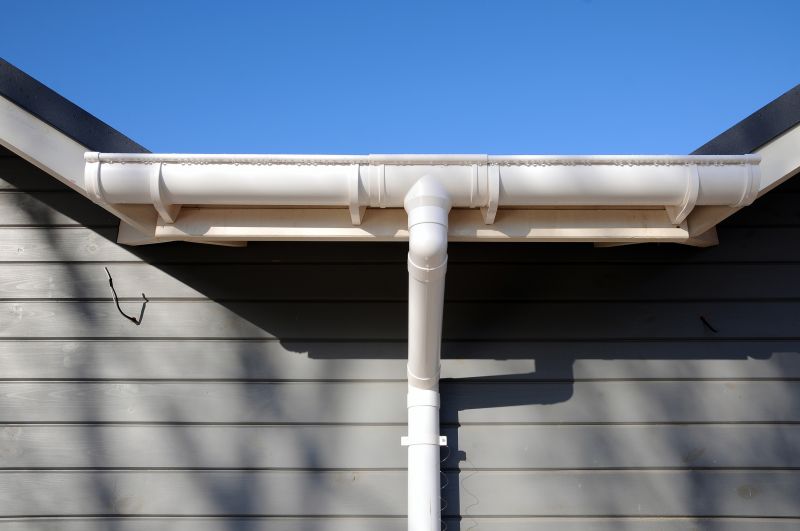
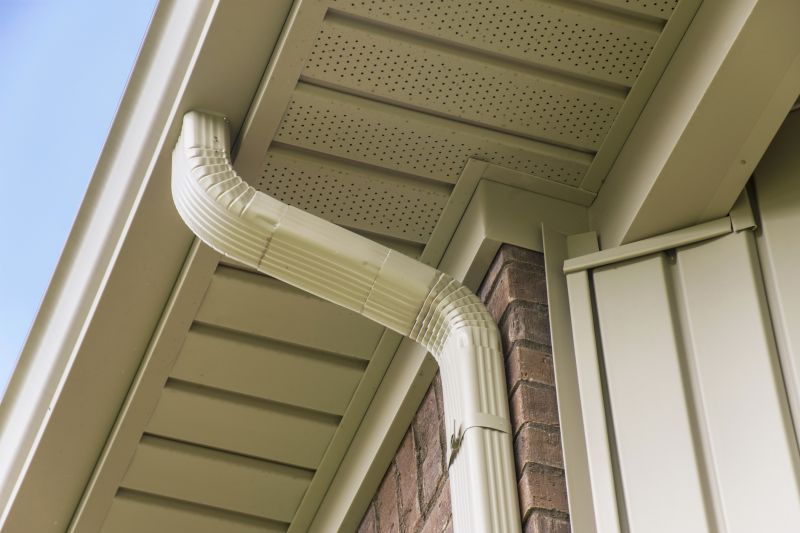
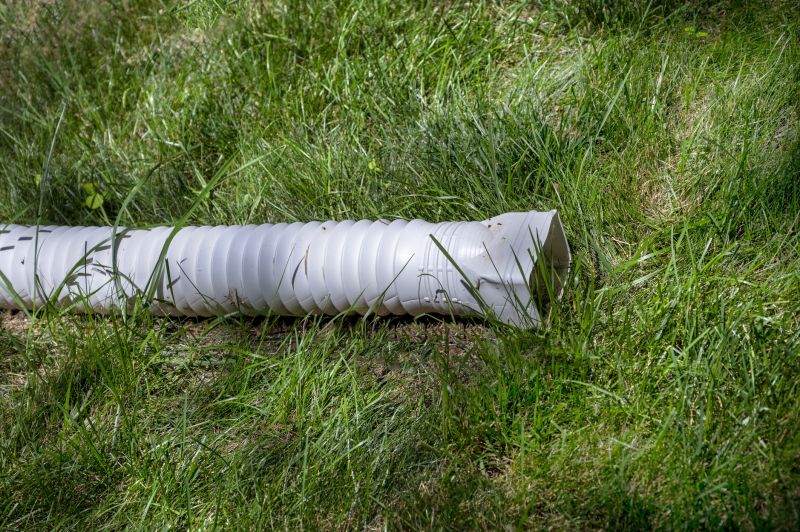
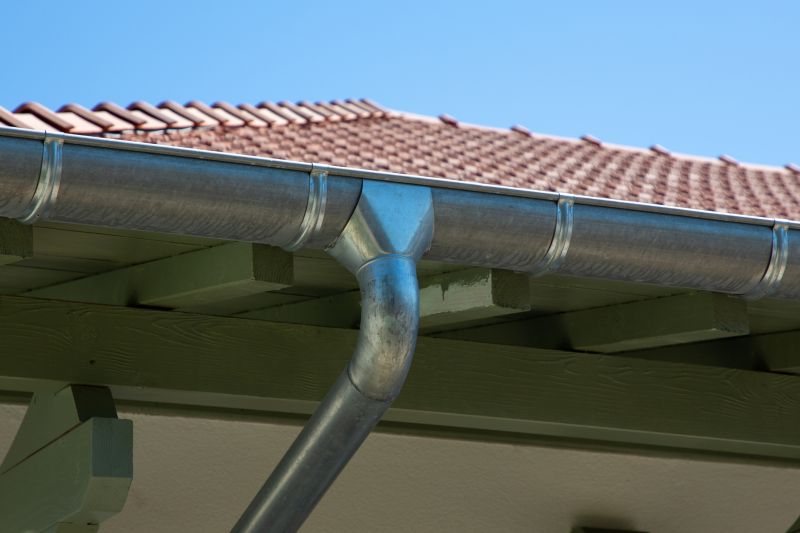
Step 6: Install Downspouts

Attach downspout outlets to the gutters and connect the downspouts using elbows. Ensure the downspouts are properly aligned for efficient drainage.

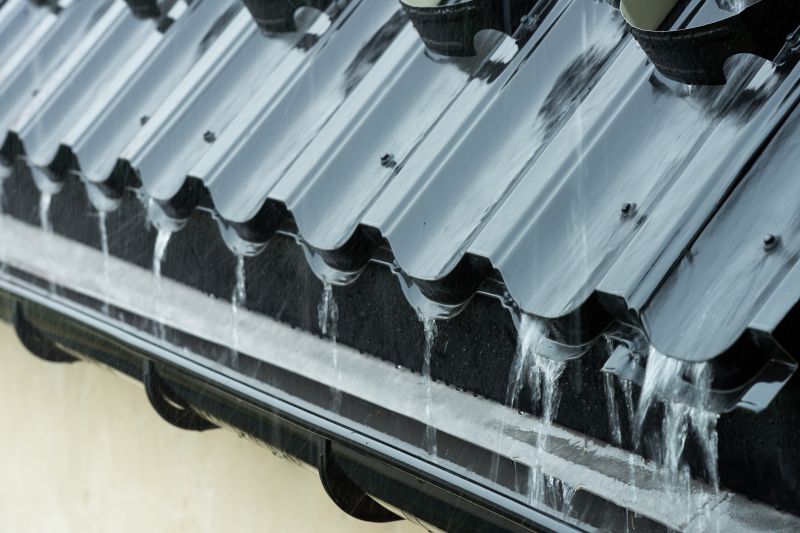
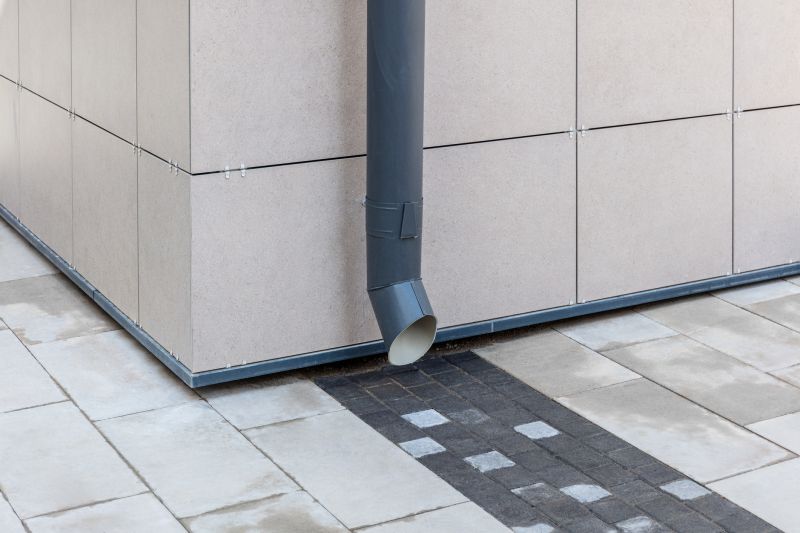
Step 7: Seal and Test

Apply sealant to all joints and connections to prevent leaks. Once the sealant is dry, test the gutters by running water through them to check for proper drainage.

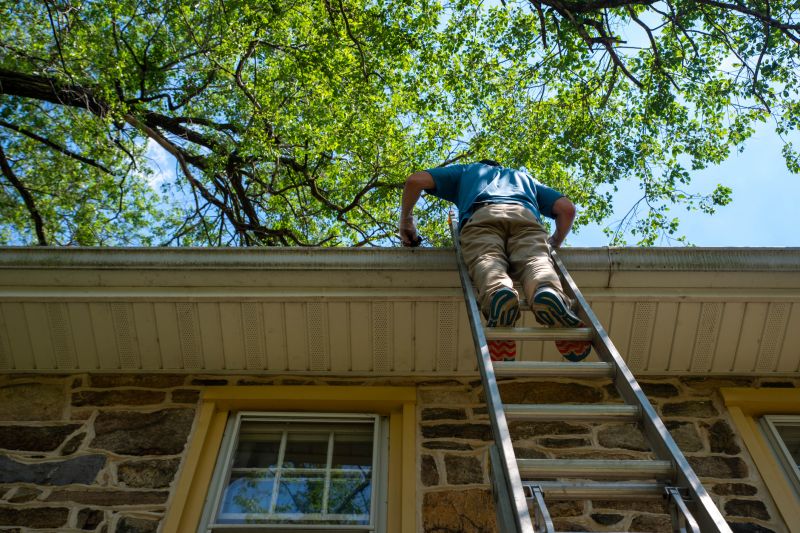
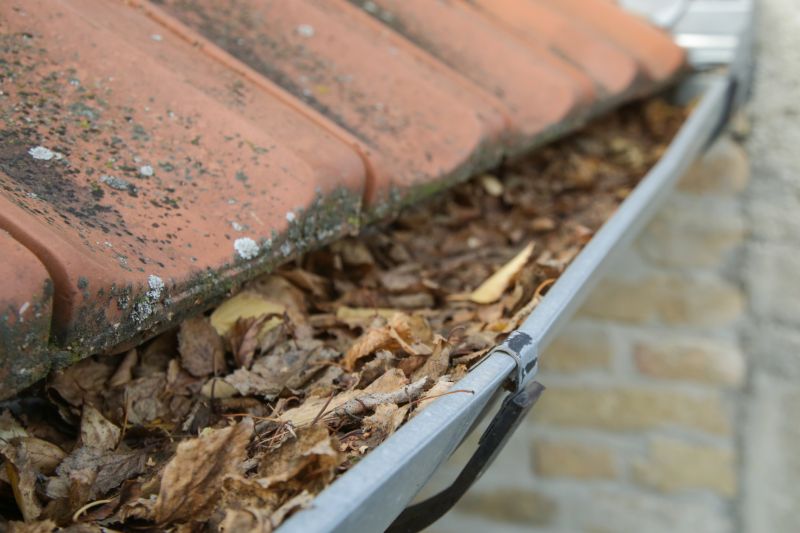
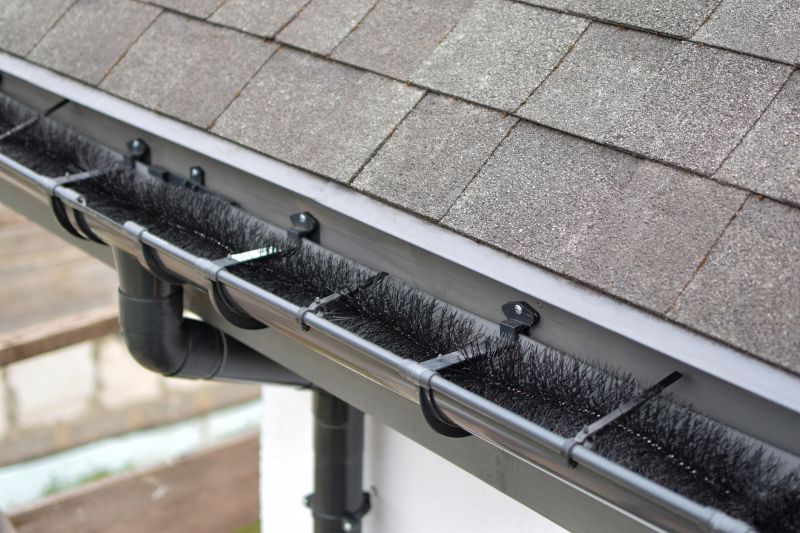
Step 8: Maintenance Tips

Regularly clean the gutters to prevent clogging and ensure proper functioning. Inspect for any damage or leaks and make necessary repairs.

Follow these steps to successfully install aluminum gutters. Remember to take necessary safety precautions and consult professional help if needed.


Get Aluminum Gutter Installation

Enter your Zip Code

Copyright © 2025 . All Rights Reserved

GetGutterServices.com is a service to assist homeowners in connecting with local service contractors. All contractors are independent, and this site does not warrant or guarantee any work performed. It is the responsibility of the homeowner to verify that the hired contractor furnishes the necessary license and insurance required for the work being performed. All persons depicted in a photo or video are actors or models and not contractors listed on this site.