Gutter Heat Tape Installation | How To
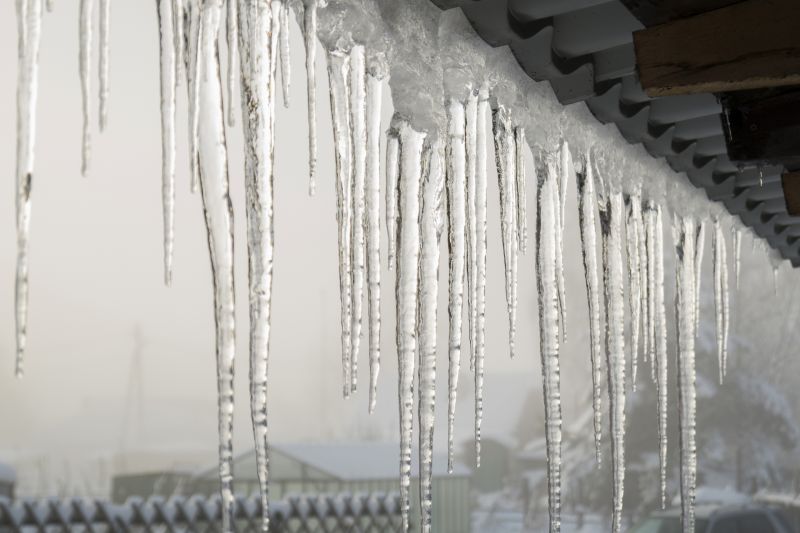
Get help with your gutter heat tape installation needs. Fill out the form above and we will connect you with local pros in your area. Gutter heat tape installation is a process that involves the careful placement of specialized heating cables along the edges of a gutter system. This technique helps prevent ice dams from forming during cold weather conditions. By evenly distributing heat, gutter heat tape installation ensures that the snow and ice melt away, allowing water to flow freely through the gutters and downspouts. This effective solution safeguards your home from potential water damage caused by clogged or overflowing gutters. With professional expertise and quality materials, skilled technicians can expertly install gutter heat tape, providing you with a reliable and efficient solution for maintaining a functional gutter system throughout the winter months.
How to Install Gutter Heat Tape
Materials Needed:
- Gutter heat tape
- Measuring tape
- Scissors
- Electrical tape
- Screwdriver
- Extension cord
- Outdoor electrical outlet
Step 1: Measure the Length of Your Gutters
Use a measuring tape to determine the length of your gutters that need heat tape installation. This will help you determine how much heat tape you will need to purchase.
Step 2: Cut the Heat Tape to the Appropriate Length
Using scissors, cut the heat tape to match the length of your gutters. Make sure to follow the manufacturer's instructions for cutting the tape.
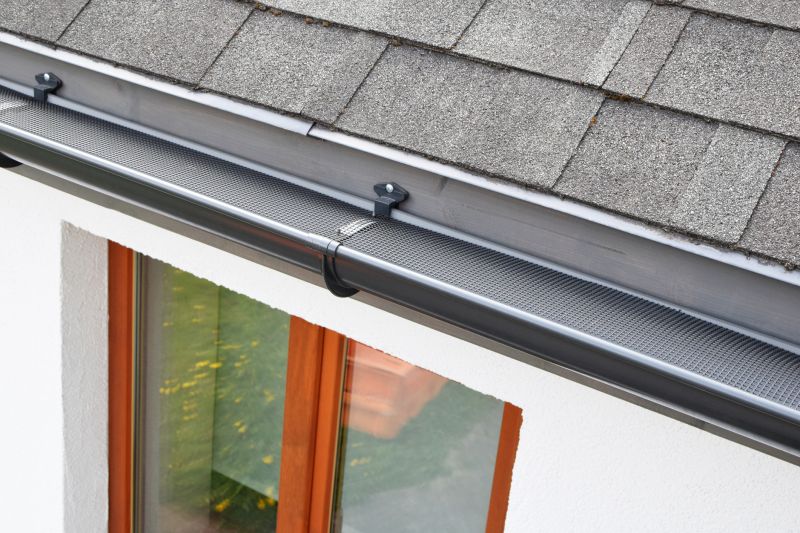
Step 3: Attach the Heat Tape to the Gutter
Starting at one end of the gutter, secure the heat tape along the length of the gutter using electrical tape. Make sure the heat tape is evenly spaced and securely attached.
Step 4: Connect the Heat Tape to a Power Source
Plug the heat tape into an extension cord and connect the other end of the extension cord to an outdoor electrical outlet. Ensure that the outlet is GFCI protected for safety.
Step 5: Test the Heat Tape
Once the installation is complete, turn on the heat tape and check if it is functioning properly. Feel the gutters to ensure they are warm to the touch, indicating that the heat tape is working.
Step 6: Regular Maintenance
Periodically inspect the heat tape for any signs of damage or wear. Replace any damaged sections promptly to ensure the effectiveness of the heat tape.
Following these steps will help you successfully install gutter heat tape and protect your gutters from ice dams and freezing during winter.