Copper Gutter Installation | How To
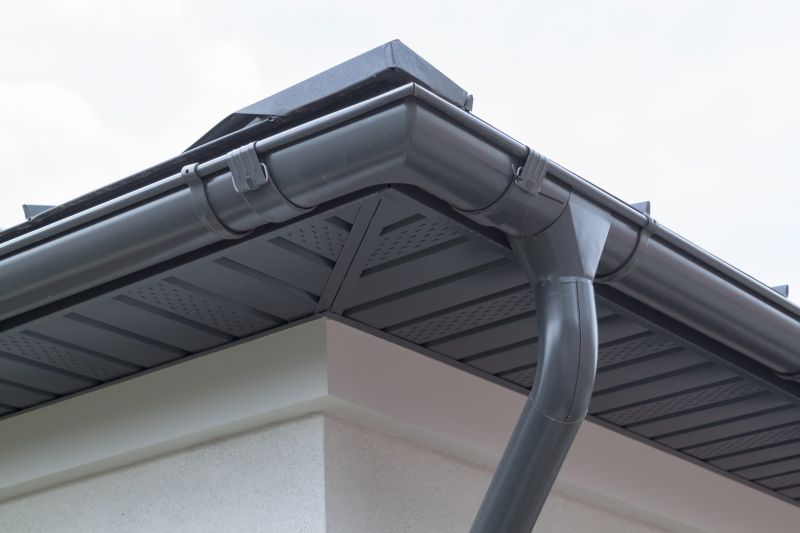
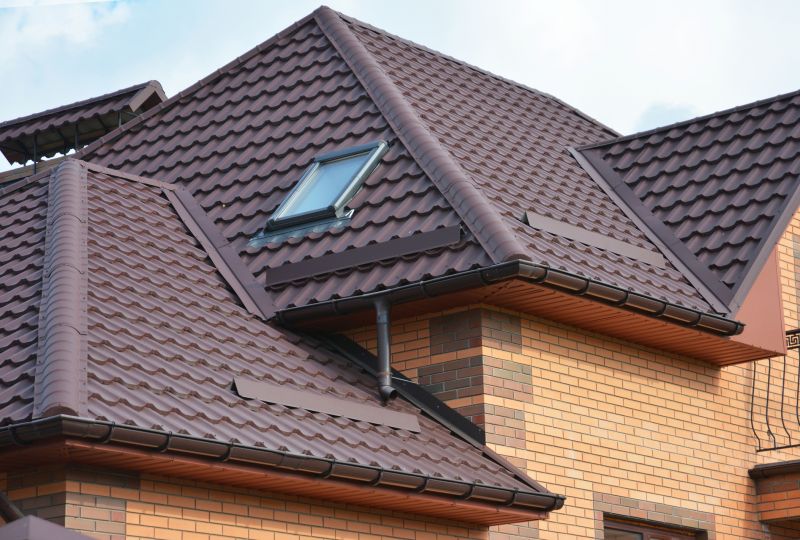
Get help with your copper gutter installation needs. Fill out the form above and we will connect you with local pros in your area. Copper gutter installation involves the process of fitting copper gutters to a building's roofline to efficiently collect rainwater and direct it away from the structure. Copper gutters are known for their durability, aesthetic appeal, and longevity, making them a popular choice among homeowners and businesses alike. The installation of copper gutters requires skilled professionals who possess the necessary expertise to ensure a proper fit and secure attachment. With their resistance to corrosion and ability to withstand harsh weather conditions, copper gutters offer a reliable solution for effective rainwater management. This type of gutter installation enhances the overall appearance of a property while providing long-lasting protection against water damage.
How to Install Copper Gutters
Materials Needed
- Copper gutters
- Gutter hangers
- Downspouts
- Gutter brackets
- Gutter sealant
- Gutter screws
- Measuring tape
- Hacksaw
- Drill
- Screwdriver
- Gloves
- Safety glasses
Step 1: Measure and Plan
Start by measuring the length of the area where you want to install the copper gutters. Plan the number of downspouts needed based on the size and slope of the roof.
Step 2: Cut the Gutters
Using a hacksaw, cut the copper gutters according to the measurements taken in step 1. Make sure to wear gloves and safety glasses while cutting.
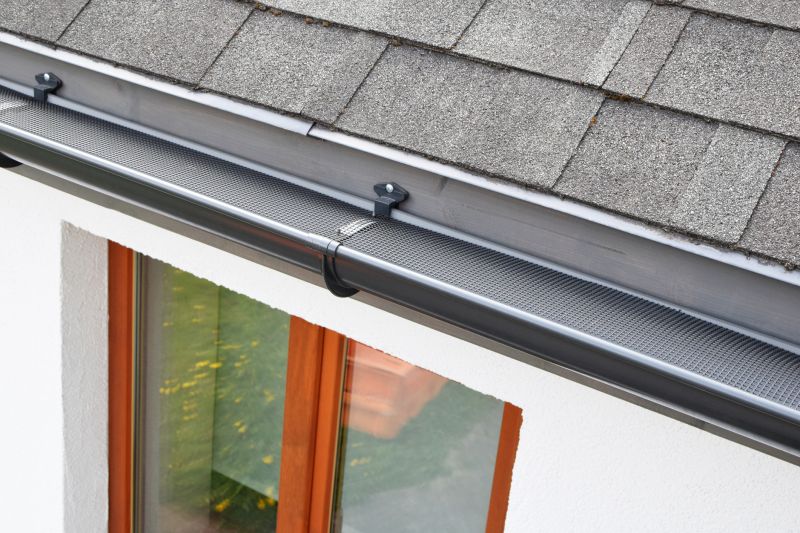
Step 3: Install Gutter Hangers
Attach the gutter hangers to the fascia board, spacing them evenly along the length of the gutter. Use a drill and screws to secure them in place.
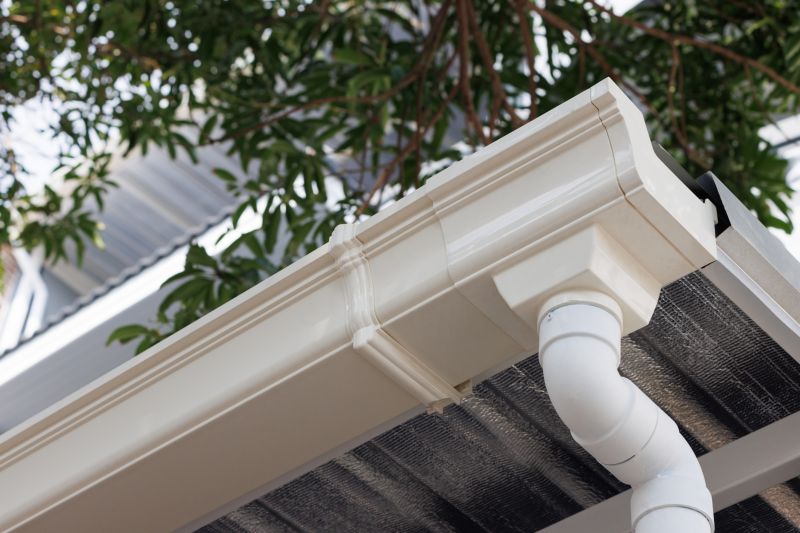
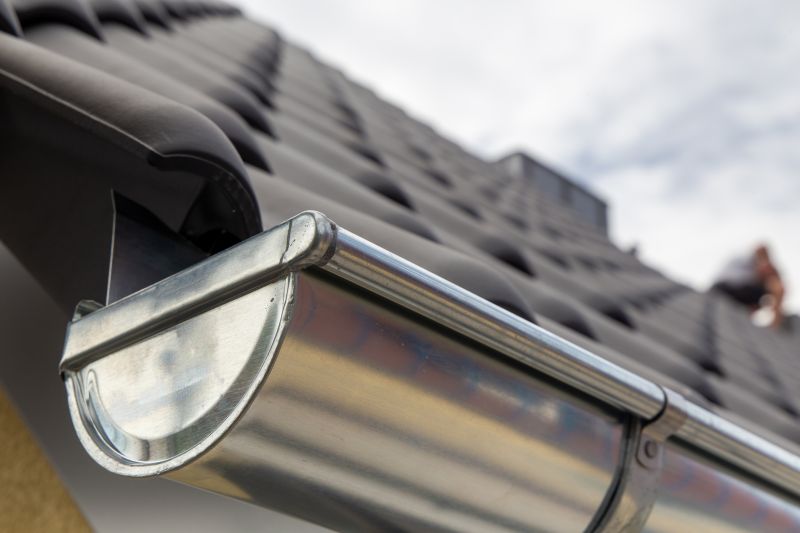
Step 4: Attach the Gutters
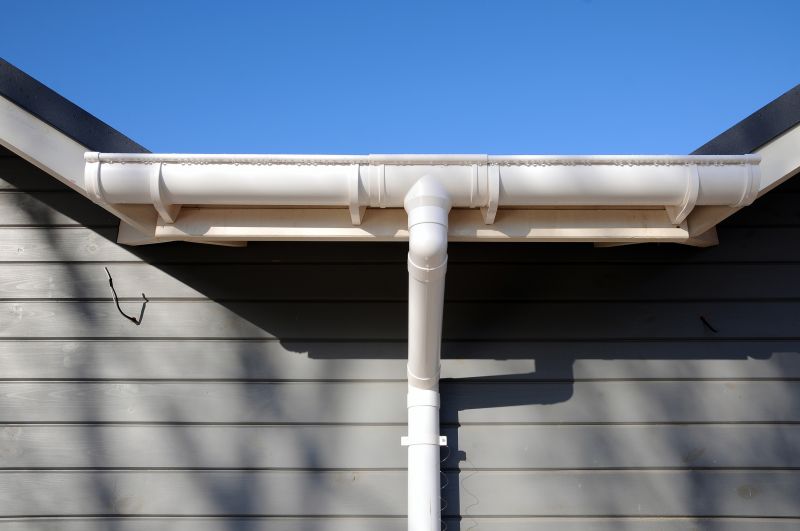
Place the copper gutters onto the hangers, ensuring they are level and slope towards the downspouts. Secure the gutters to the hangers using screws.
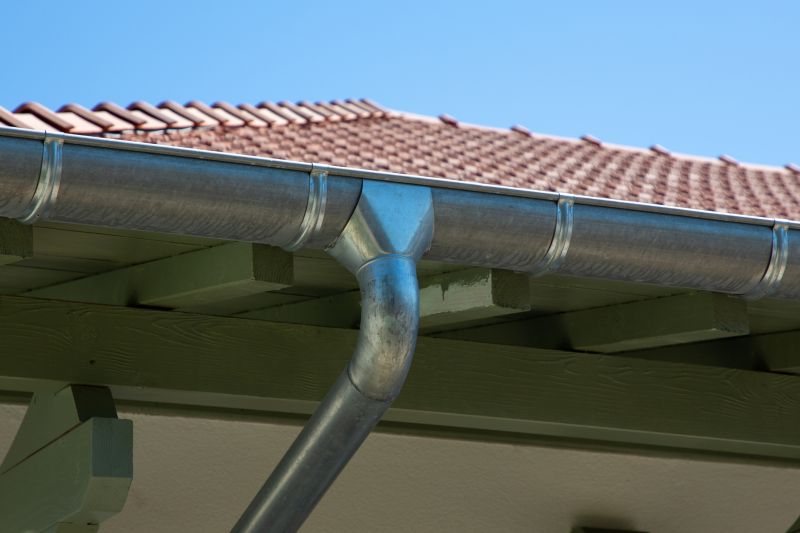
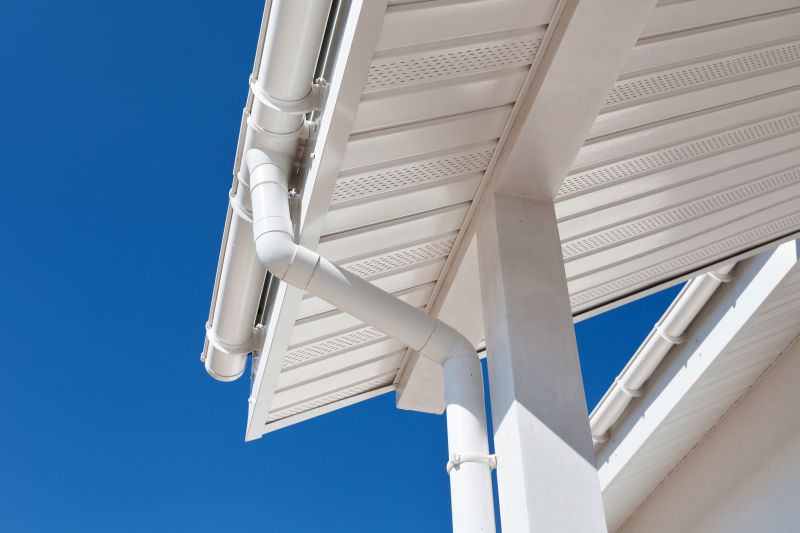
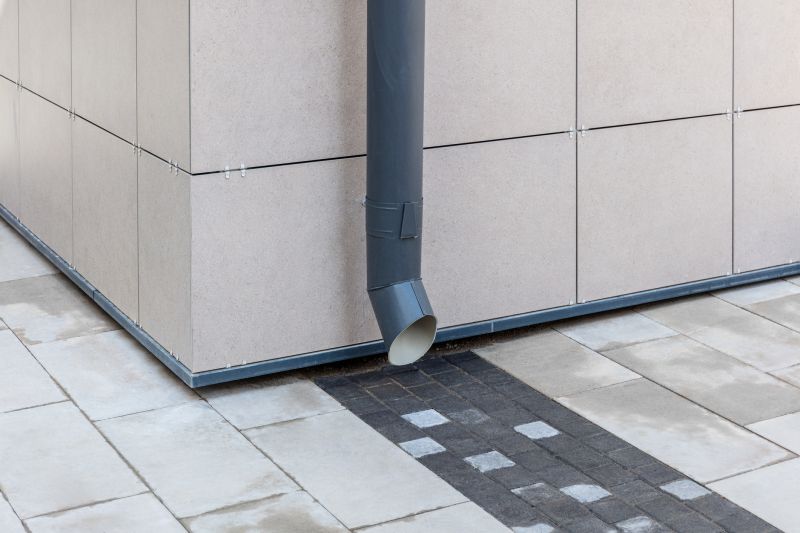
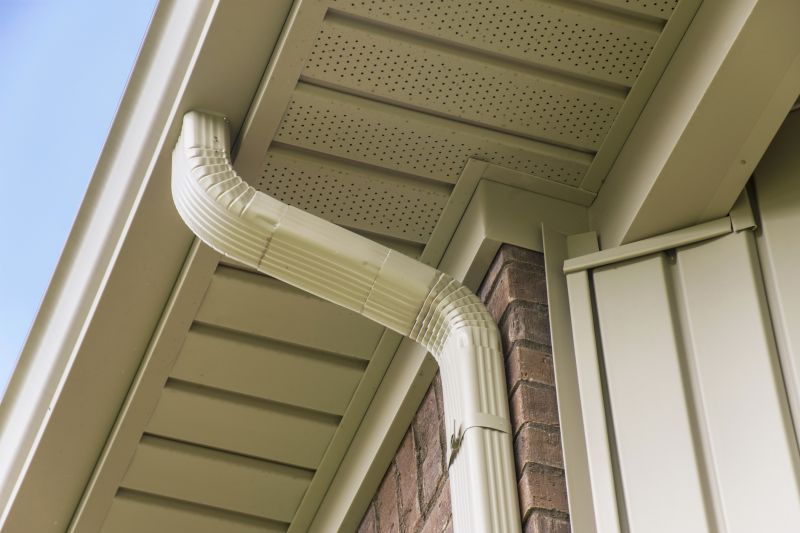
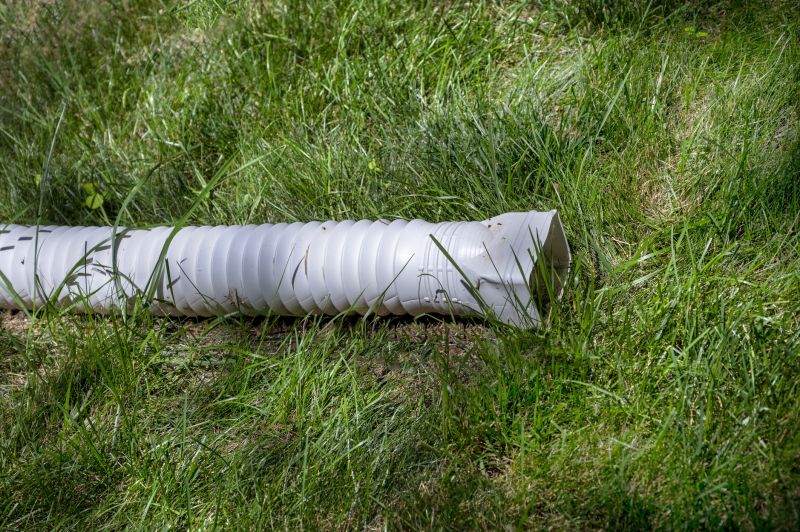
Step 5: Connect the Downspouts
Attach the downspouts to the gutters using gutter brackets. Make sure the downspouts are securely fastened and properly aligned with the gutters.
Step 6: Seal the Joints
Apply gutter sealant to the joints and connections to prevent leaks. Smooth out the sealant using a putty knife or your gloved finger.
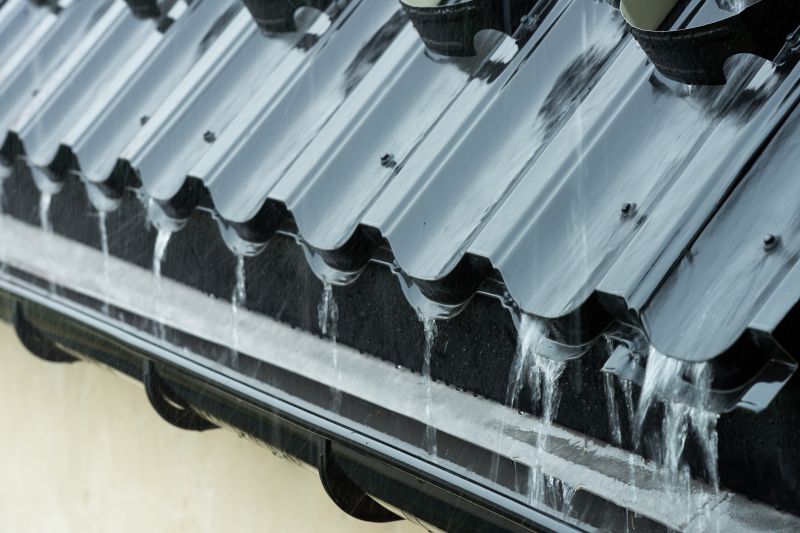
Step 7: Test the Gutters
After installation, run water through the gutters to check for any leaks or issues. Make any necessary adjustments or repairs if needed.
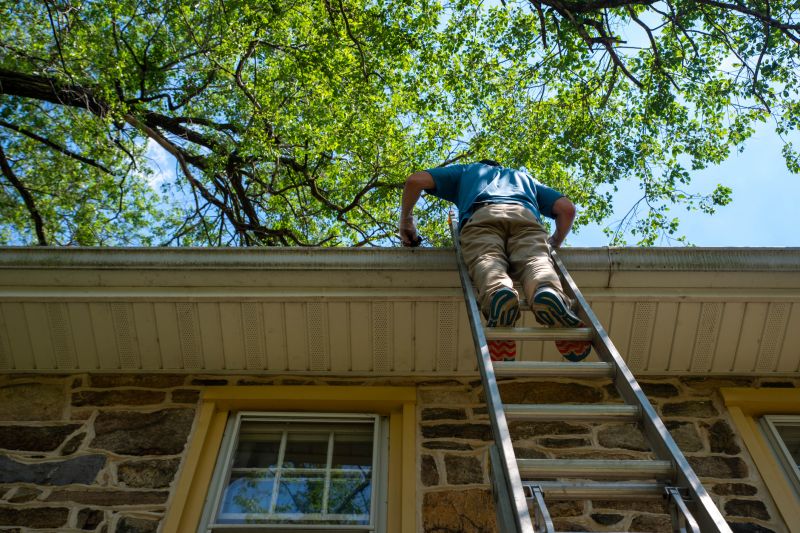
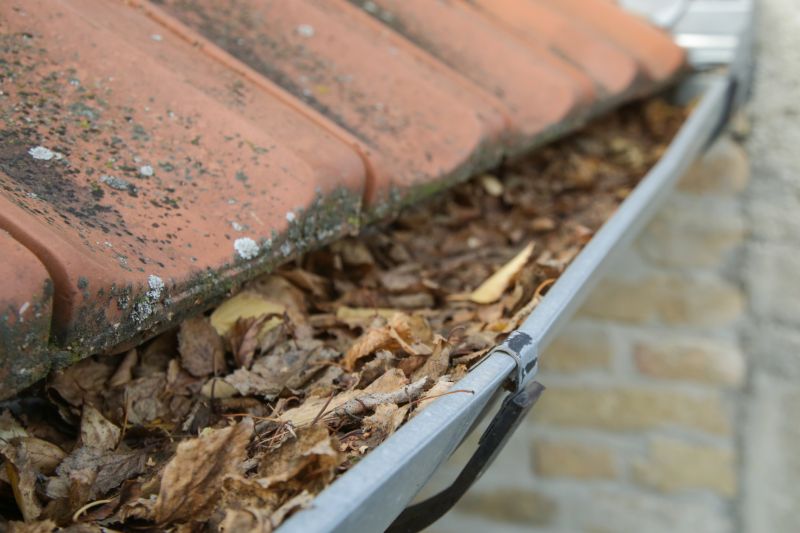
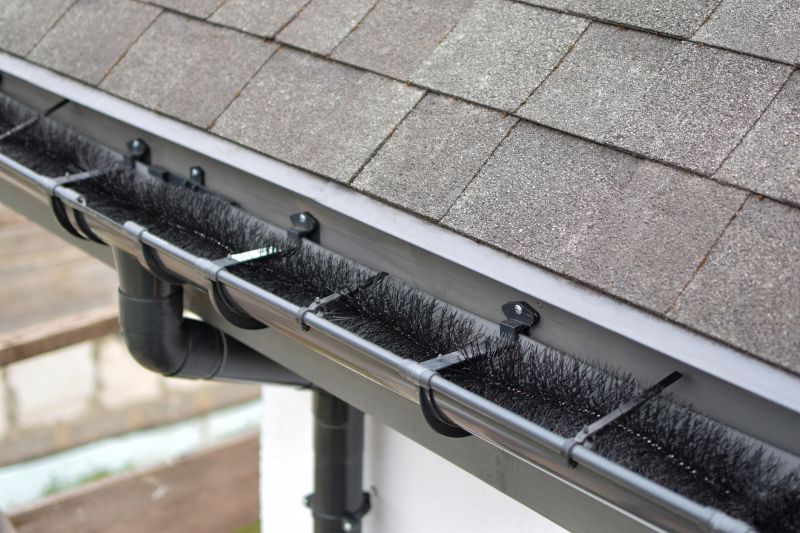
Step 8: Maintenance Tips
Regularly clean and inspect the copper gutters to prevent clogs and damage. Remove debris and check for any signs of wear or corrosion.
By following these steps, you can successfully install copper gutters and enhance the functionality and appearance of your home.