How to Install a Box Gutter
Installing a box gutter is an important step in ensuring proper drainage for your roof. Follow these steps to successfully install a box gutter:
Materials Needed:
- Box gutter sections
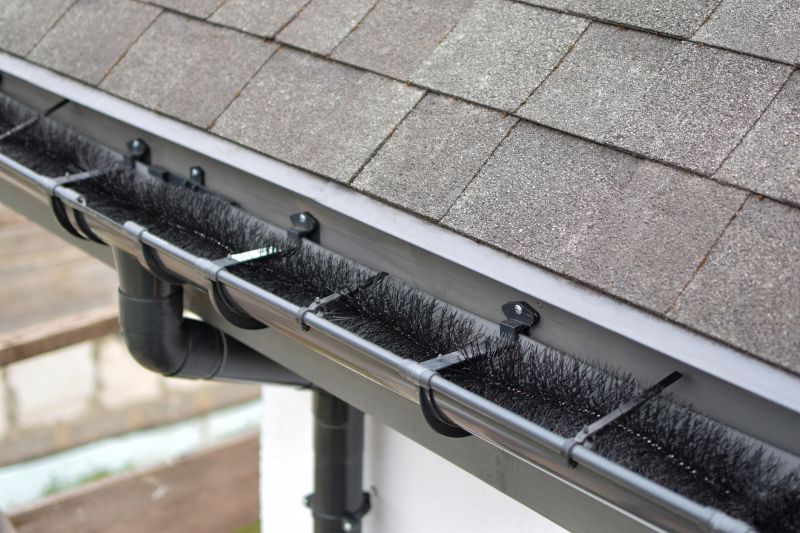
- End caps
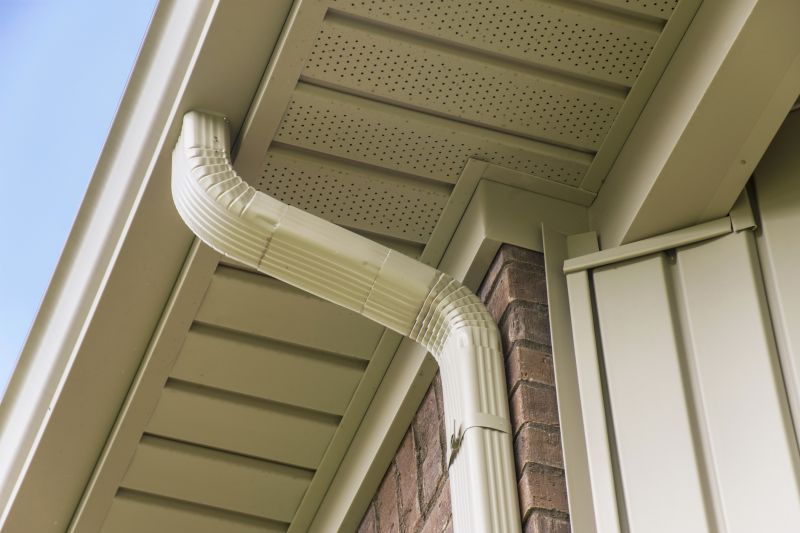
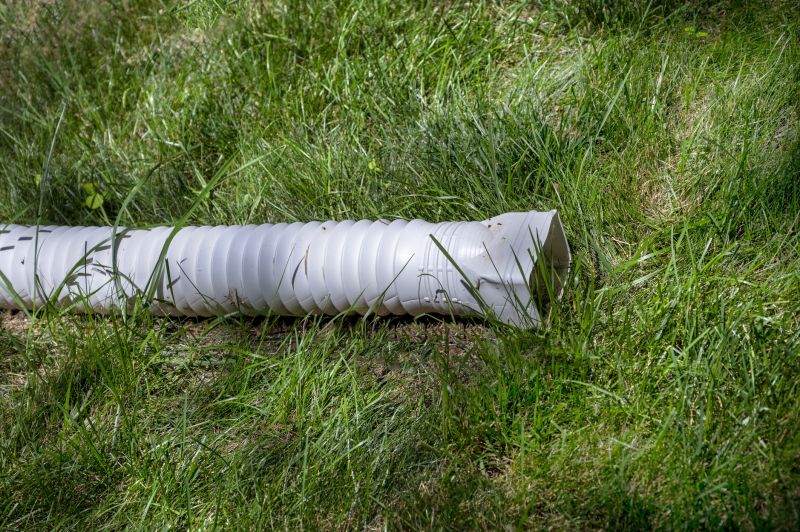
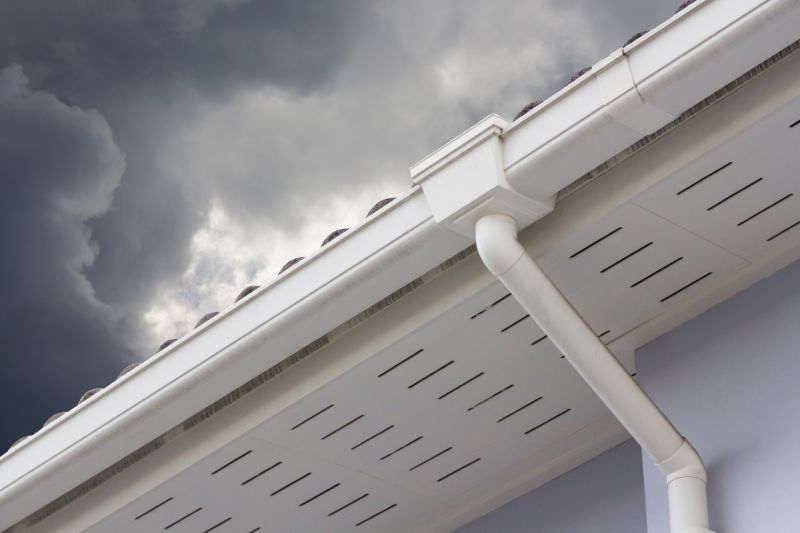
- Downpipe
- Gutter brackets
- Screws
- Gutter sealant
- Measuring tape
- Level
- Drill
- Hacksaw
- Seam sealer
Step 1: Measure and Plan
Using a measuring tape, measure the length of the area where you want to install the box gutter. Plan the number of gutter sections and downpipes required based on the measurements.
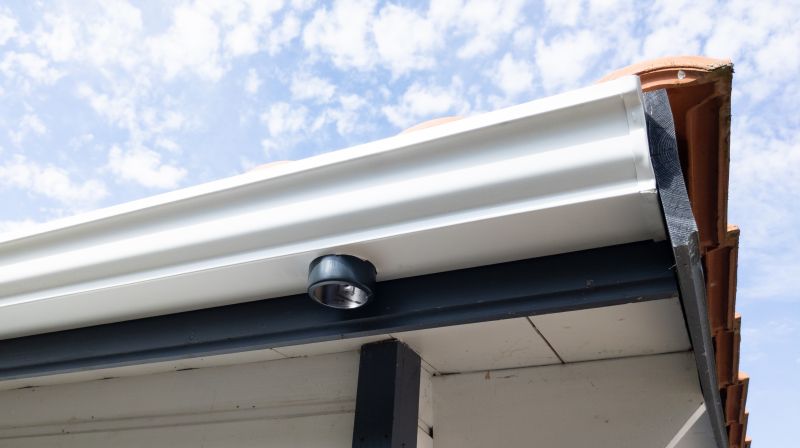
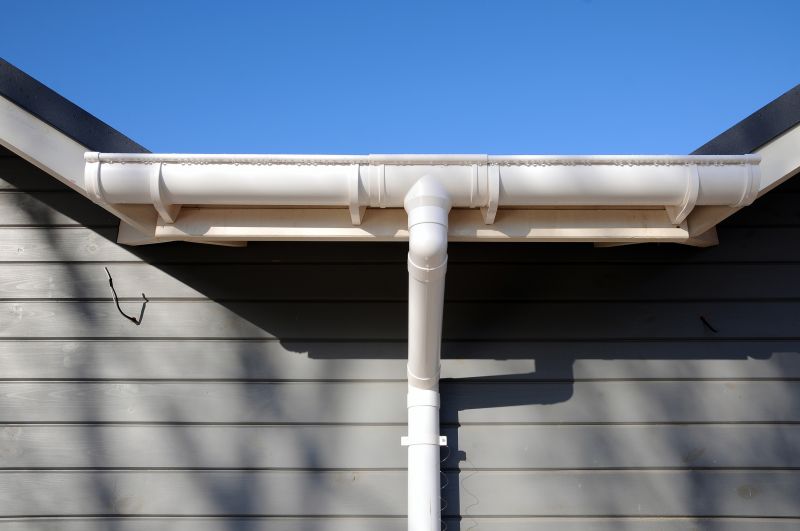
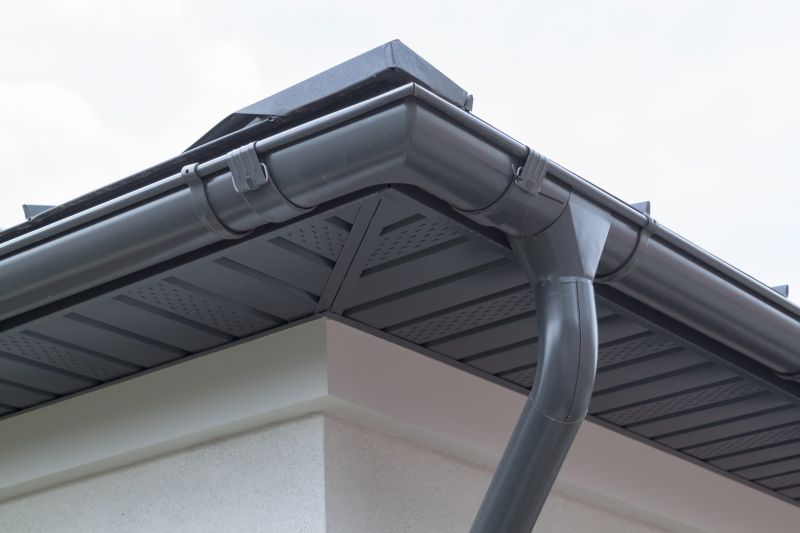
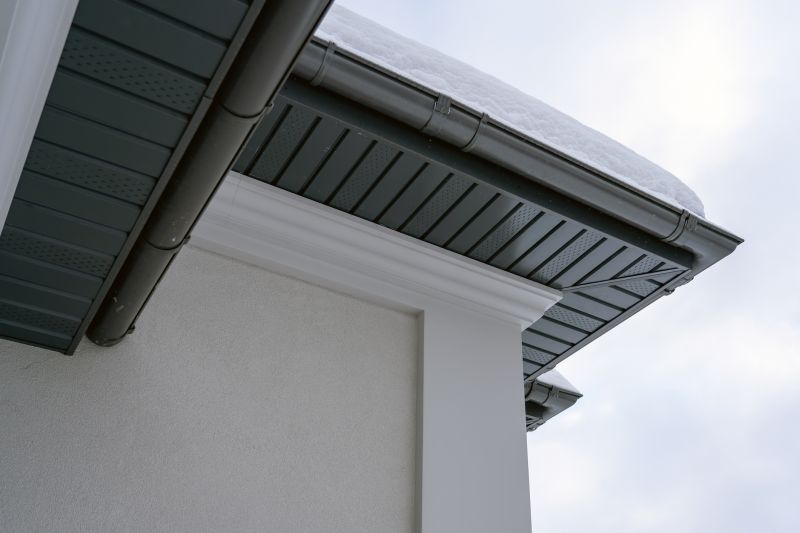
Step 2: Install Brackets
Using a level, mark the positions for the gutter brackets on the fascia board. Install the brackets securely using screws.
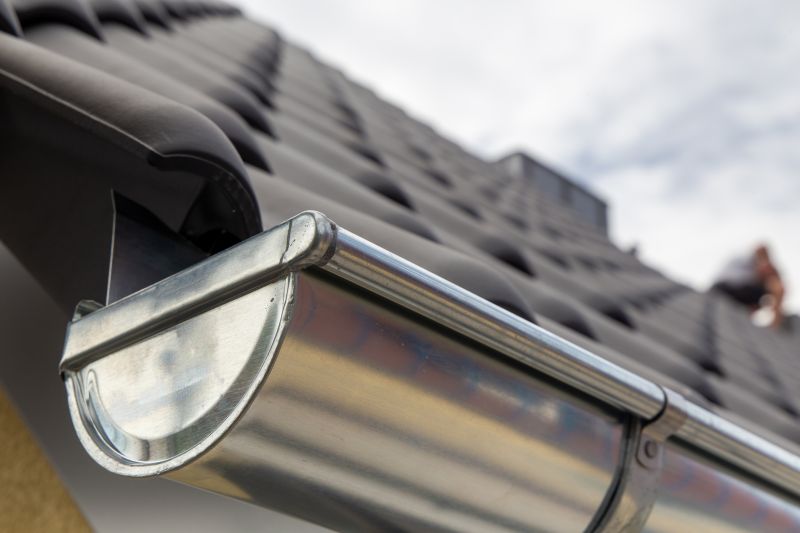
Step 3: Cut Gutter Sections
Using a hacksaw, cut the box gutter sections to the required length based on your measurements. Ensure the cuts are clean and straight.
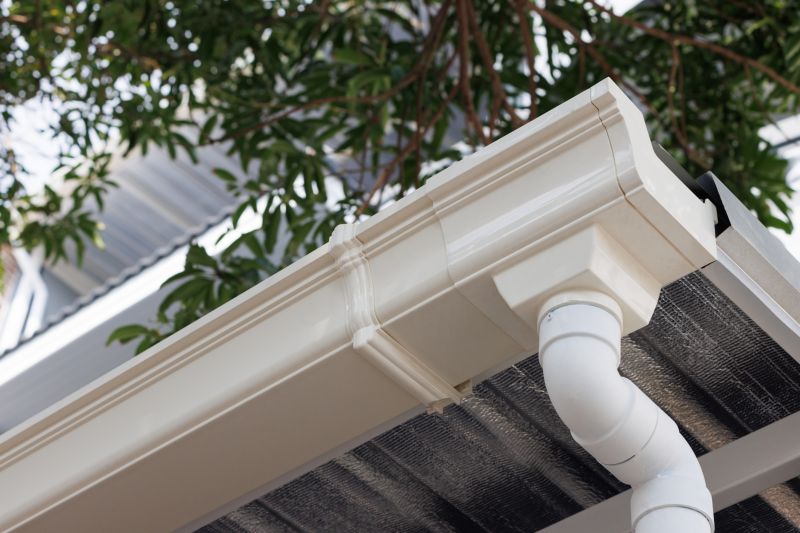
Step 4: Attach End Caps
Attach end caps to each gutter section using gutter sealant. This will prevent any leakage from the ends.
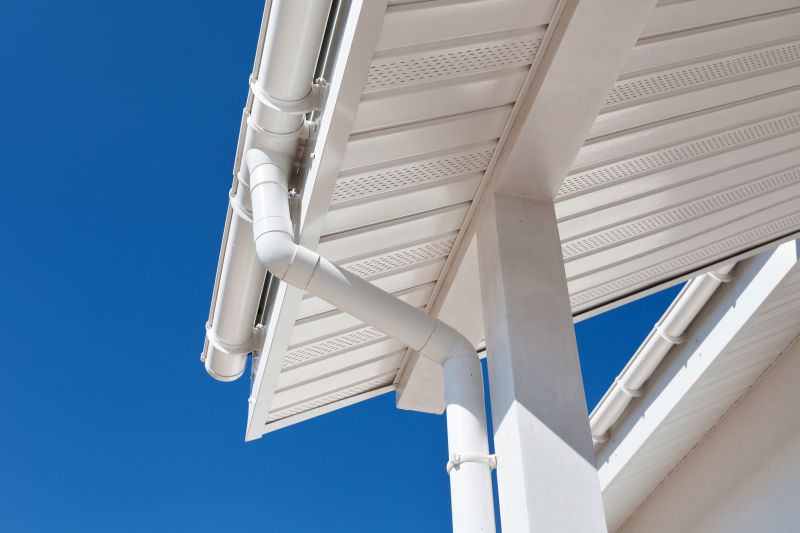
Step 5: Connect Gutter Sections
Connect the gutter sections together using connectors provided with the box gutter. Apply gutter sealant to ensure a watertight connection.
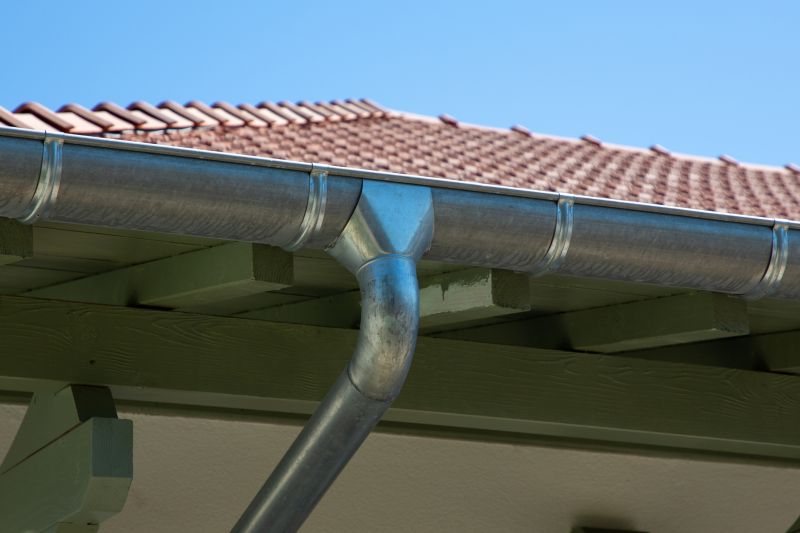
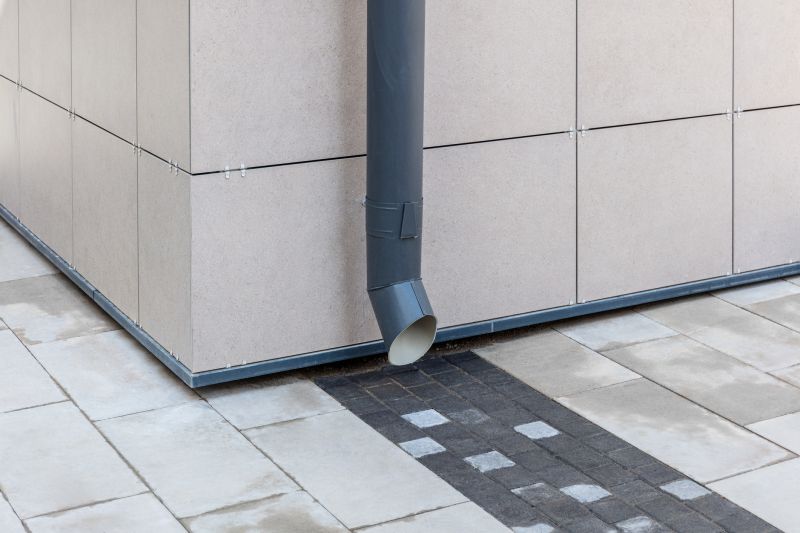
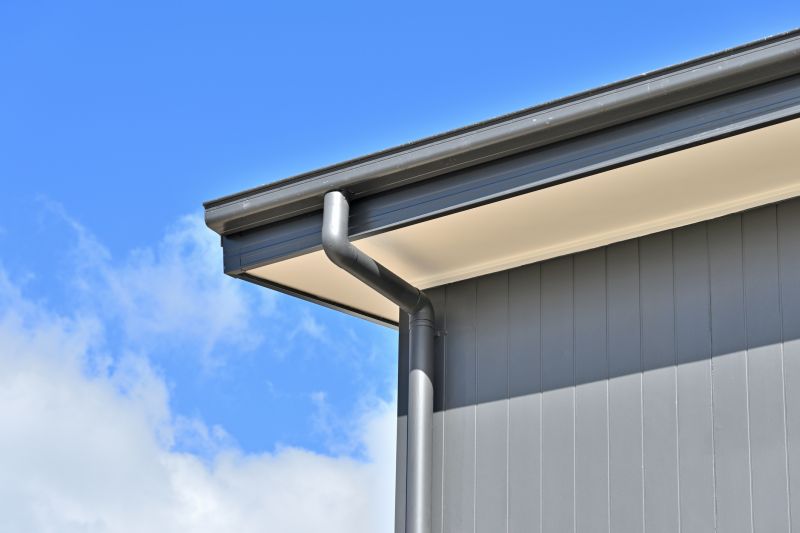
Step 6: Install Downpipes
Measure and cut downpipes to the required length. Attach the downpipes to the gutter sections using connectors. Ensure the downpipes are securely fastened to the wall.
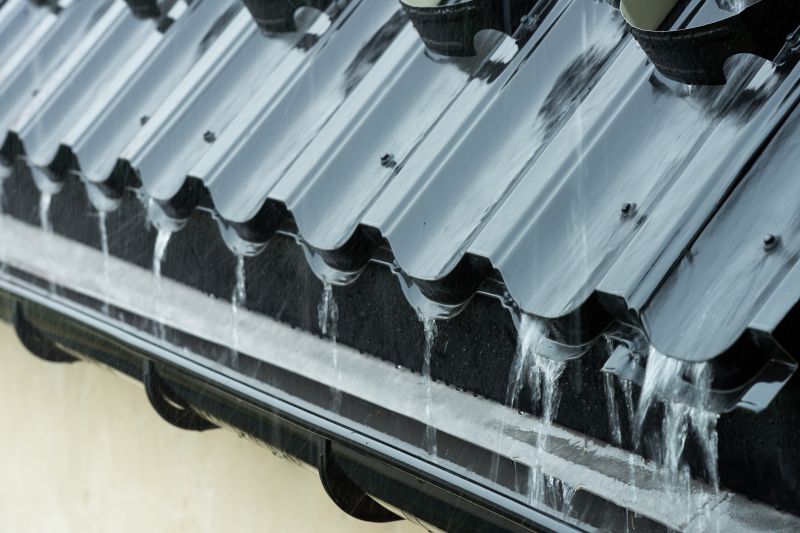
Step 7: Check for Proper Slope
Using a level, check if the box gutter has a proper slope towards the downpipes. Proper slope ensures efficient water drainage.
Step 8: Seal Joints
Apply seam sealer to all the joints and connections to prevent any water leakage.
Step 9: Test the Installation
Run water through the gutter system to test for any leaks or improper drainage. Make necessary adjustments if required.
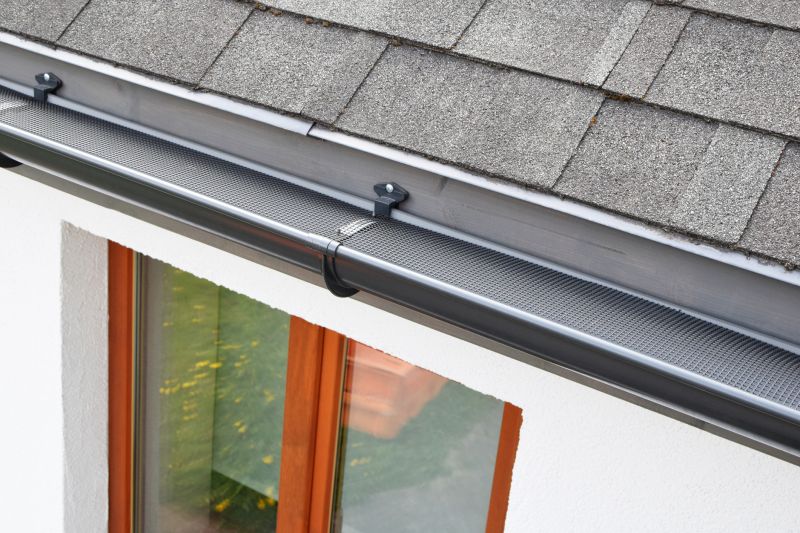
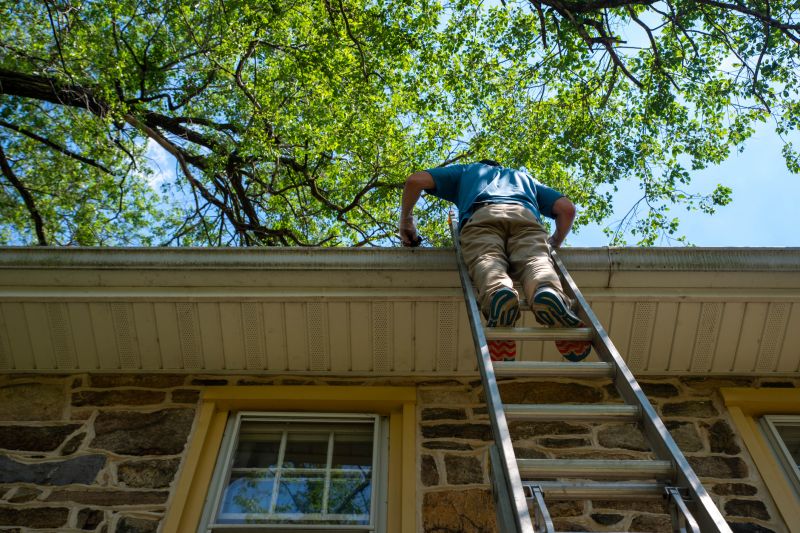
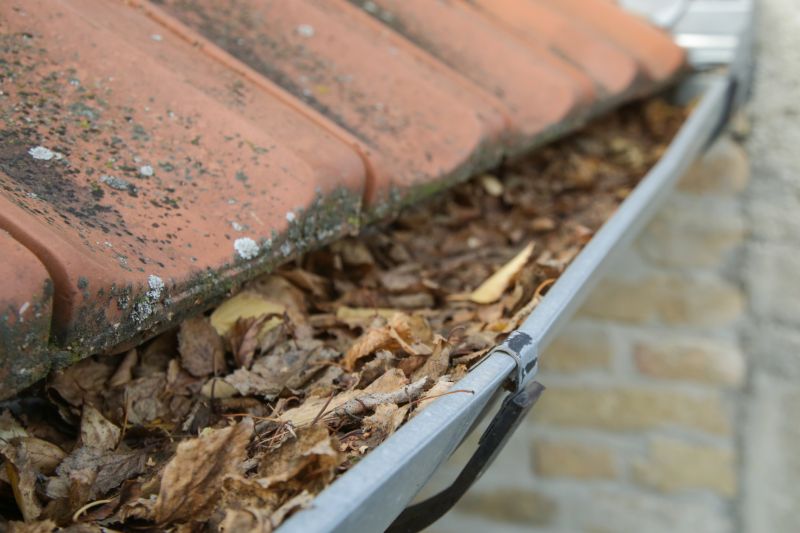
Step 10: Regular Maintenance
Regularly clean the box gutter to remove any debris or blockages. Inspect for any damage and repair as needed.
Following these steps will help you successfully install a box gutter and ensure proper drainage for your roof.