Gutter Flashing Installation | How To
Get help with your gutter flashing installation needs. Fill out the form above and we will connect you with local pros in your area. Gutter flashing installation is an essential process in ensuring the proper functioning and longevity of your gutter system. This technique involves the careful placement and attachment of metal or PVC strips along the edges of the roof and gutters to prevent water from seeping into the underlying structures. By employing skilled professionals who specialize in gutter flashing installation, you can safeguard your property against potential water damage, leaks, and costly repairs. These experts possess the expertise and knowledge required to execute this task efficiently, guaranteeing a seamless integration of the flashing with your existing gutter system. With their assistance, your gutters will be well-equipped to handle heavy rainfall and effectively channel water away from your home's foundation, preventing potential issues such as erosion or basement flooding.
How to Install Gutter Flashing
Step 1: Gather the Necessary Tools and Materials
Before you begin the installation process, make sure you have the following tools and materials:
- Gutter flashing
- Gutter brackets
- Gutter screws
- Gutter sealant
- Measuring tape
- Chalk line
- Hacksaw or tin snips
- Drill
- Screwdriver
Step 2: Measure and Mark
Use a measuring tape to determine the length of gutter flashing needed for your installation. Mark the measurements on the flashing using a chalk line.
Step 3: Cut the Gutter Flashing
Using a hacksaw or tin snips, carefully cut the gutter flashing according to the measurements you marked in the previous step.
Step 4: Install Gutter Brackets
Attach gutter brackets to the fascia board at regular intervals, ensuring they are properly aligned and level. Use a drill to secure the brackets in place.
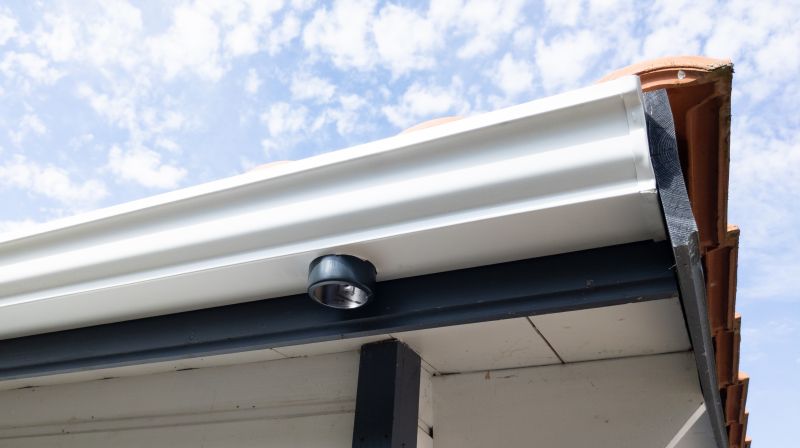
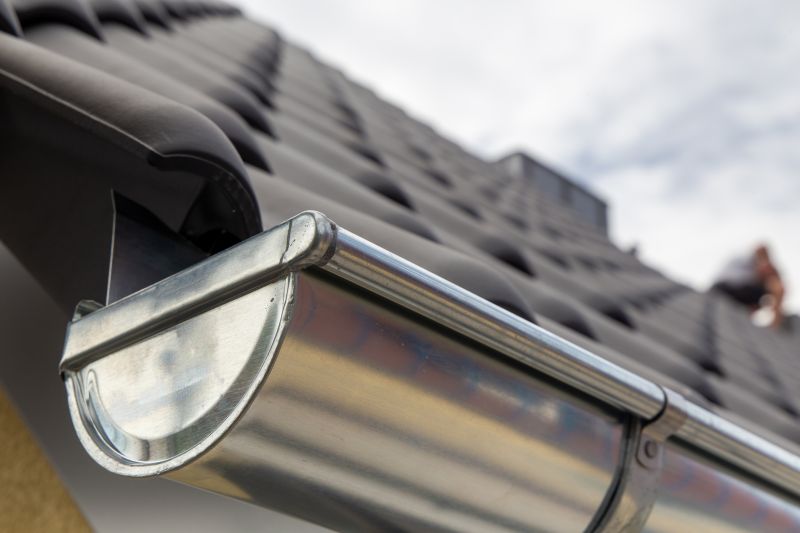
Step 5: Position the Gutter Flashing
Place the gutter flashing on top of the brackets, ensuring it is positioned correctly and aligns with the slope of the roof. Make any necessary adjustments to ensure a proper fit.
Step 6: Secure the Gutter Flashing
Using gutter screws, secure the gutter flashing to the brackets. Make sure to space the screws evenly and tighten them securely to hold the flashing in place.
Step 7: Apply Gutter Sealant
Apply gutter sealant along the edges and joints of the gutter flashing to provide a watertight seal. Smooth out the sealant using a putty knife or your finger.
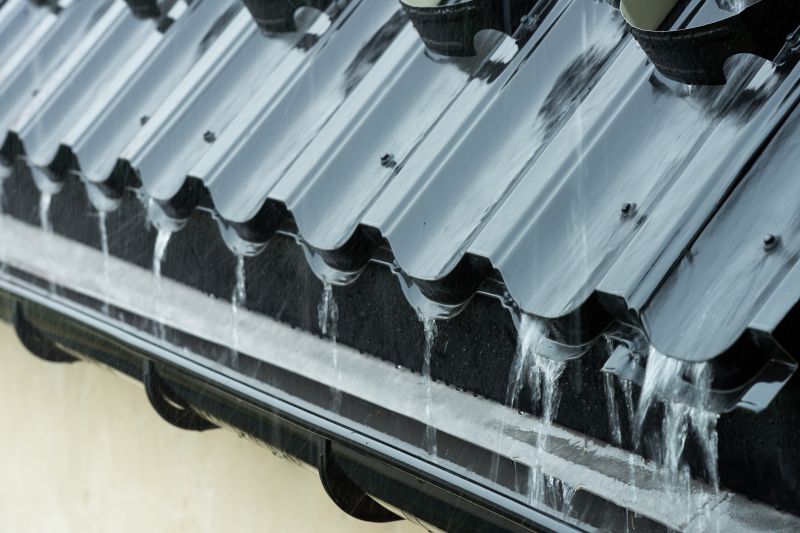
Step 8: Test for Proper Drainage
After the gutter flashing installation is complete, check for proper drainage by pouring water into the gutter and observing how it flows. Make any necessary adjustments to ensure proper water flow.
Step 9: Clean Up
Remove any debris or excess materials from the installation area. Dispose of them properly.
Step 10: Final Inspection
Inspect the gutter flashing installation to ensure everything is secure and properly sealed. Make any final adjustments or touch-ups as needed.
Congratulations! You have successfully installed gutter flashing!